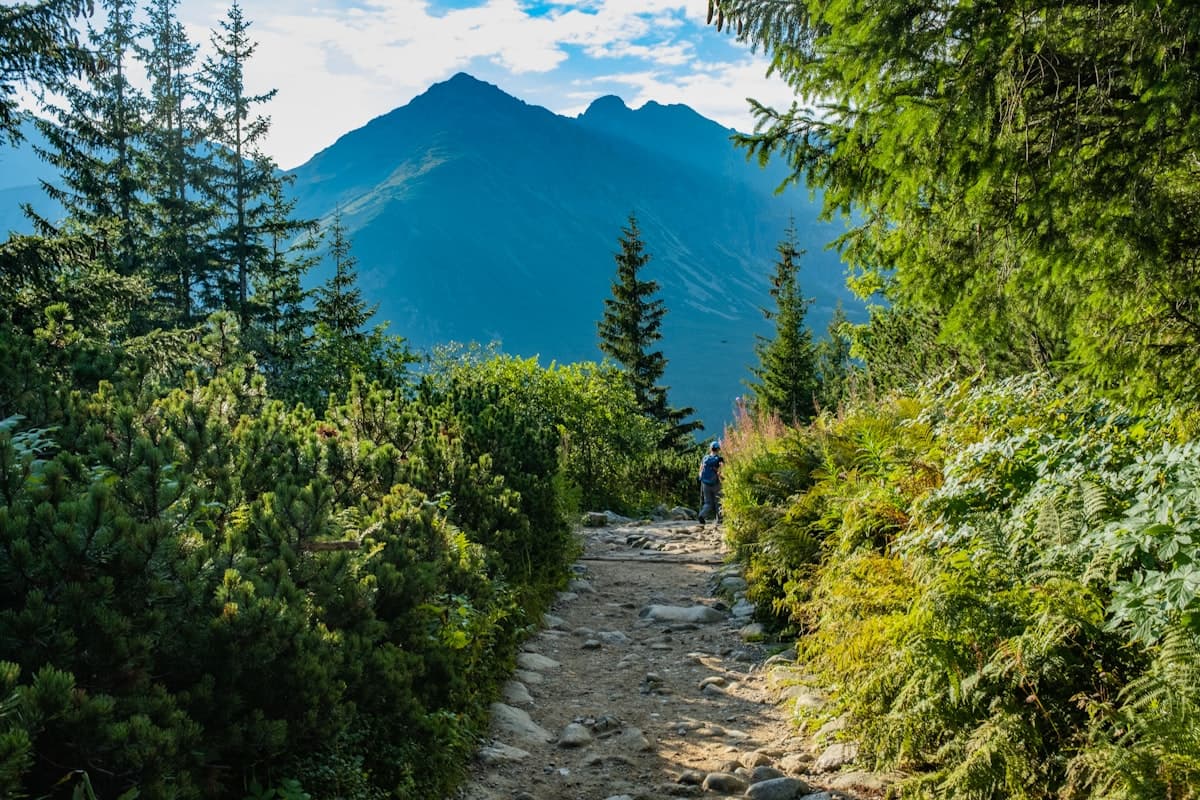
How to Calculate Elevation Gain on a Hike
When choosing a hike, distance alone tells only half the story. A flat 15-kilometer walk is a completely different experience from 15 kilometers with 900 meters of elevation gain. Yet many hikers — especially beginners — overlook this crucial parameter and find themselves exhausted long before reaching their destination.
This guide covers everything: what elevation gain is, how to calculate it, how to interpret difficulty ratings, and — most importantly — how to choose a hike that genuinely matches your fitness level.
What Is Elevation Gain?
Elevation gain refers to the cumulative ascent (or descent) accumulated throughout a hike. There are several key concepts worth distinguishing.
Positive Elevation Gain (Ascent)
This is the total sum of all uphill sections throughout the route. If you climb 200 m, descend 100 m, then climb another 150 m, your total ascent is 350 m — even though your highest point is only 200 m above your starting altitude.
Total ascent is the most useful figure for evaluating physical effort. It determines muscular and cardiovascular fatigue more accurately than distance alone. Two hikes of identical distance can demand radically different efforts depending on their respective ascent figures.
Negative Elevation Gain (Descent)
The mirror of ascent, descent represents the total sum of all downhill sections. On a loop trail, ascent and descent are always roughly equal. On an out-and-back route, they're identical. On a point-to-point traverse (different start and finish), they can differ significantly.
Don't underestimate the descent: long, steep downhills are hard on the knees and thighs — sometimes harder than the climb itself, especially late in the day when muscles are already fatigued.
Summit Altitude vs. Cumulative Elevation Gain
A common source of confusion: the altitude of the summit is not the same as the elevation gain. Climbing Pic du Canigou (2,784 m above sea level) from Fillols with 2,096 m of total ascent means you've accumulated 2,096 m of climbing — but your starting point was already around 700 m altitude. Furthermore, if the route involves intermediate ascents and descents (passes, ridges), the cumulative gain can significantly exceed the simple difference between start and finish altitudes.
View the Pic du Canigou route on OpenRando
How to Calculate Elevation Gain Before You Go
Using a Topographic Map
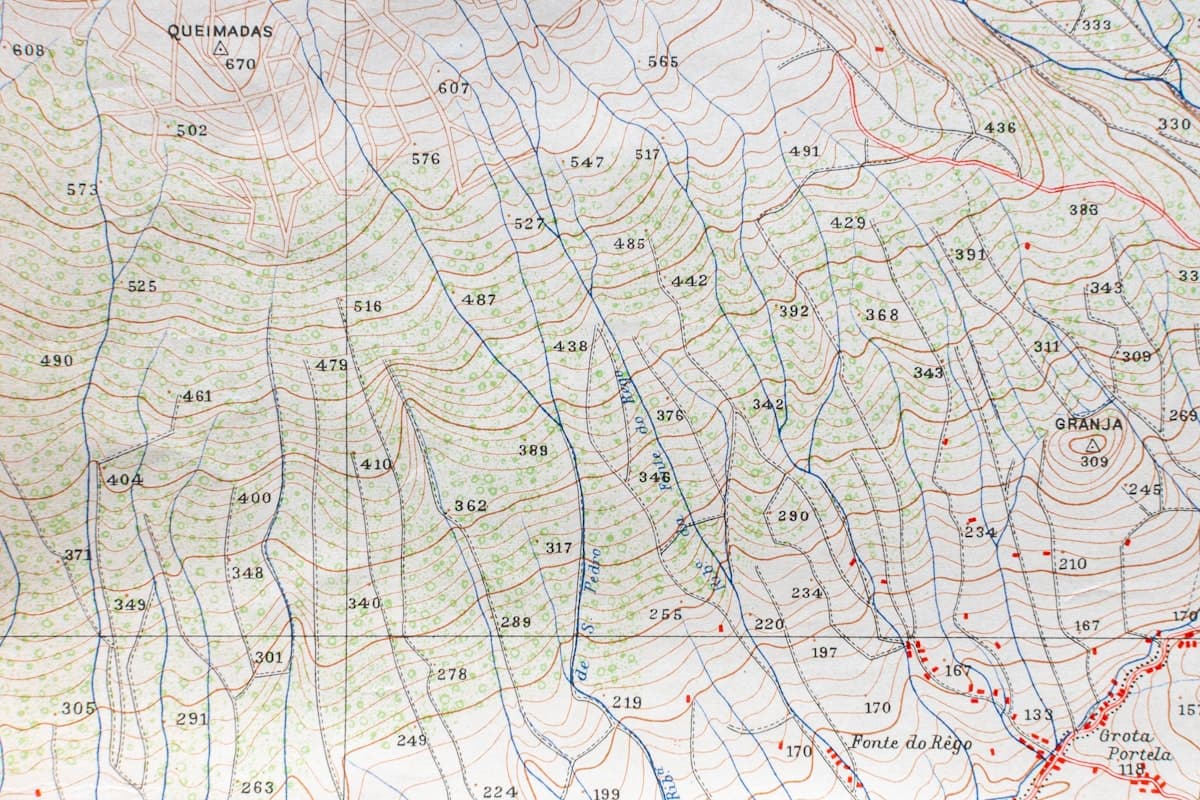
IGN 1:25,000 maps (the standard hiking-scale maps in France) display contour lines spaced every 10 meters. By counting the contour lines your route crosses and multiplying by 10, you can estimate total ascent with good accuracy.
This classic method is reliable and technology-independent — but requires knowing how to read a topographic map. Closely spaced contour lines indicate steep terrain; widely spaced lines mean gentle or flat ground. Thicker index contours (drawn every 50 m) make counting easier on mountainous routes.
Using a Hiking App
The easiest approach for most hikers: use a dedicated hiking app that automatically calculates elevation gain from the GPS track and digital elevation model.
OpenRando, Komoot, Visorando, Strava, AllTrails — all these apps compute ascent and display an interactive elevation profile. You can see exactly where the climbs, passes, and flat sections are before even lacing your boots. Check out our comparison of the best hiking apps to find the right one for your needs.
With a GPS Watch or Altimeter
During a hike, a GPS watch measures cumulative ascent in real time. High-end watches include a barometric altimeter — more accurate than GPS alone for measuring altitude, since it responds to atmospheric pressure changes rather than satellite signals.
A barometric altimeter (or a watch with one built in) is the most reliable tool for tracking your ascent and descent as you go. Our GPS watch comparison for hiking will help you choose the right device for your budget and usage.
Via a GPX File
When you download a GPX file from OpenRando or any other source, you can open it in software like GPX Studio, Basecamp, or Garmin Connect to view the elevation profile and read the total ascent directly. Our guide on how to use a GPX file walks you through the complete process.
Hike Difficulty Ratings
A hike's difficulty isn't just about elevation gain. It depends on five combined parameters:
- Total distance (in km or miles)
- Positive elevation gain (total ascent)
- Terrain technicality (marked path, off-trail, rocky, exposed ledge…)
- Estimated duration (actual walking time)
- Exposure (water access, shade, availability of shelters or refuges…)
The FFRandonnée Difficulty Scale
The French Hiking Federation (FFRandonnée) uses a standardized five-level scale:
| Level | Color | Distance | Ascent | Terrain |
|---|---|---|---|---|
| Very Easy | Green | < 8 km | < 150 m | Wide path, minimal slope |
| Easy | Green | < 12 km | < 400 m | Marked trail, regular terrain |
| Moderate | Blue | 12-20 km | 400-800 m | Regular path, some technical sections |
| Difficult | Red | > 20 km | > 800 m | Varied terrain, good fitness required |
| Very Difficult | Black | > 25 km | > 1,200 m | Technical terrain, experienced hikers only |
In practice, most apps and websites use a simplified 3-to-4 level system. What matters most is comparing the raw numbers rather than relying on labels, which vary between sources.
A Practical 4-Level Guide
For a quick and effective assessment:
- Easy: less than 300 m ascent, less than 10 km. Perfect for beginners, families with children, and recovery outings. Duration: 2 to 3 hours.
- Moderate: 300 to 600 m ascent, 10 to 15 km. Suitable for regular walkers without specific physical limitations. Duration: 4 to 5 hours.
- Strenuous: 600 to 1,000 m ascent, 15 to 20 km. Requires good fitness and regular hiking practice. Duration: 5 to 7 hours.
- Expert / Alpine: more than 1,000 m ascent, often over 20 km. Reserved for experienced hikers with solid cardiovascular endurance. Duration: 7+ hours.
A good moderate example: the Sentier T13 from Acceglio to Col Maurin — 9 km with 600 m of ascent, a fine balance between effort and alpine scenery.
An expert example: the Tour du Queyras in 5 days — multiple stages exceeding 1,000 m of ascent each, for well-trained hikers.
Naismith's Rule: Estimating Your Hiking Time
Proper time planning prevents many unpleasant surprises on the trail. Naismith's Rule, proposed by Scottish mountaineer William Naismith in 1892, remains the international standard:
Allow 1 hour for every 4 km of distance, plus 1 hour for every 300 m of ascent.
Practical example: a 12 km hike with 600 m of ascent
- Distance: 12 ÷ 4 = 3 h
- Elevation gain: 600 ÷ 300 = 2 h
- Estimated time: 5 h (excluding breaks)
Naismith's Rule assumes a "standard" hiker in good shape on regular terrain. Adjust for your situation:
- Technical terrain, off-trail or snowy conditions: +20 to +30%
- Heavy pack (overnight gear, camera equipment): +15 to +20%
- Extreme heat or altitude above 2,000 m: +15%
- Slower hikers or groups with children: use 3 km/h instead of 4
- Fast, fit hikers: use 5 km/h
Choosing a Hike That Matches Your Level
For Beginners
Don't jump straight into 6-7 hour outings. Here's a sensible 3-month progression to build a solid fitness base:
- Month 1: 2-3 outings of 2-3 h, ascent < 200 m, easy marked terrain
- Month 2: outings of 4-5 h, 300-400 m ascent, regular trails
- Month 3: first long half-day hikes with 500-600 m ascent
Also read our guide on preparing your first hike in Provence — all the essential groundwork is covered there.
For Intermediate Hikers
If you hike regularly (at least once or twice a month) and can comfortably sustain 4-5 hours without difficulty, you're ready for hikes with 700-900 m of ascent. Watch for cumulative fatigue effects over multiple days: 800 m of ascent per day feels very different on day 1 of a trek compared to day 3 or 4.
See our guide on planning a multi-day trek for managing fatigue accumulation and properly planning nutrition and recovery.
How to Progress Faster
- Vertical intervals: fast ascents over 200-300 m of gain from your starting point (a nearby hill, stadium steps, or a steep urban staircase), descend, repeat. Excellent for building the quadriceps, calves, and glutes specifically used in uphill hiking.
- Consistency over volume: three 2-hour outings per week are more effective than a single 6-hour weekend outing. Consistent training builds aerobic base and muscular endurance.
- Vary your terrain: stairs, grassy slopes, rocky paths, forest tracks — each surface engages different stabilizing muscles in the ankles and knees.
Equipment Considerations for High Elevation Gain
Significant ascent changes your gear requirements substantially:
Trekking Poles
Essential for any hike with more than 500-600 m of ascent, trekking poles significantly reduce knee stress during descents (by 20-30% according to biomechanical studies) and improve balance on unstable terrain. Choose adjustable poles with the right tips for your terrain (rubber caps for hard paths, carbide tips for scree or soft ground). Our trekking pole comparison helps you find the right pair.
Footwear
The greater the elevation gain and more technical the terrain, the more ankle support and sole stiffness matter. A pair of high-cut waterproof hiking boots protects your ankles on loose terrain and provides better grip during steep descents on rocks, roots, and wet grass. For technical high-gain outings, avoid lightweight trail shoes without lateral support. See our guide on choosing hiking shoes.
Water and Nutrition
High elevation gain extends your hiking time and increases energy expenditure, perspiration, and caloric needs. For outings with more than 800 m of ascent:
- Plan for at least 0.5 L of water per hour of walking
- Bring fast-release carbohydrates (dates, energy bars, dried fruit, gels) to maintain energy during sustained climbs
- A hydration reservoir integrated into your pack keeps your hands free and encourages continuous drinking without frequent stops
Check our nutrition and hydration guide for hiking for detailed advice on water-to-electrolyte ratios and fueling strategies for long days.
Sun Protection
The higher you climb, the more intense the UV radiation: exposure increases by roughly 10% per 1,000 m of altitude. For high-gain hikes in the mountains, a SPF 50+ sunscreen and quality polarized Category 3 or 4 sunglasses are non-negotiable. See our complete guide on protecting your skin while hiking.
Key Numbers to Remember
| What You Want to Know | What to Check |
|---|---|
| Trip duration | Ascent + distance → Naismith's Rule |
| Muscular fatigue | Total ascent (especially descent for knees) |
| Technique required | Terrain type (marked trail, off-trail, technical) |
| Fitness level needed | Total ascent + estimated duration |
| Equipment needed | Ascent > 500 m → poles; > 1,000 m → high-cut boots |
The best way to improve your self-knowledge as a hiker is to keep a trail journal: note how you felt, your actual time, and your fatigue level at the end of each outing. After just a few trips, you'll have an accurate personal benchmark for what you can handle comfortably — and you can calibrate Naismith estimates with your real-world pace.
To explore hikes sorted by difficulty in your area, visit OpenRando — every route displays ascent, distance, and a complete elevation profile so you can plan your outing with full confidence.
As an Amazon Associate, we earn from qualifying purchases. Links marked with an external icon are affiliate links.
Related reading
Solo Hiking: Safety Tips and Motivation Guide
Solo hiking is one of the most rewarding experiences on the trail. Discover our essential safety advice, gear recommendations, and mental preparation tips to hike alone with confidence.
Hiking safely: the mistakes you absolutely must avoid
Poor preparation, wrong gear, underestimated weather… Discover the 10 most common hiking mistakes and how to avoid them to enjoy the mountains with complete peace of mind.
How to Read an Elevation Profile and Plan Your Hiking Effort
Learn to read an elevation profile to accurately estimate a hike's real difficulty: average gradients, slope breaks, and calculating hiking time with Naismith's Rule.