
Hiking in the Fog: Safety, Navigation and Techniques to Stay on Track
Fog creeps in gradually, then suddenly you realize you can no longer see the cairn ahead, the trail has vanished into grey, and you are no longer certain which direction you're heading. This shift takes less than ten minutes in dense fog. What makes mist especially treacherous is that it doesn't announce itself: it rolls up from valley floors or rises suddenly from a col, and it disrupts spatial perception long before you notice.
This article is not about general caution. It gives concrete navigation techniques: how to assess visibility in meters, how to walk on a compass bearing, how to use natural waypoints, and above all how to decide to turn back before the situation becomes critical.
1. Why You Walk in Circles in Fog
The phenomenon is well documented and happens to all hikers, even experienced ones. When visibility drops below about 50 meters, the brain loses its external references (horizon, distant relief, sun position). It falls back on the only signals it receives: proprioception (the sense of one's own limbs) and balance.
The problem: our two legs are not perfectly symmetrical. One is slightly stronger than the other, producing a slight unconscious rotation with each step. Without a visual reference to self-correct, this asymmetry compounds. Result: a hiker who believes they are walking in a straight line is actually tracing a spiral, gradually curving left or right.
Experiments conducted in artificial fog conditions show that most subjects deviate 20 to 40 degrees after 500 meters of unsighted travel, and some return almost exactly to their starting point after a few kilometers. This is not a question of skill — it is physiology.
Fog makes things worse by eliminating contrast: without cast shadows, without variation in light intensity, relief loses depth. A 30-degree slope becomes difficult to distinguish from flat ground. The edge of a cliff, a cornice or a gully may not be distinguishable from the path until you reach it.
2. Assessing Actual Visibility in Meters
Before asking how to move, you need to quantify visibility. "It's foggy" tells you nothing about what is feasible. A light mist at 200 m visibility is not remotely comparable to thick fog at 15 m.
The simplest method: throw a contrasting object (a jacket, a pole) on the ground at increasing distances and note at what point it disappears. You can also walk away from a companion and measure how far until you lose clear sight of them.
A practical reference grid:
| Visibility | Situation | What to do |
|---|---|---|
| > 200 m | Light mist | Normal hiking, heightened awareness |
| 100–200 m | Moderate mist | Map and compass navigation recommended |
| 50–100 m | Dense fog | Careful navigation required, no off-trail travel |
| 20–50 m | Thick fog | Marked trail only, consider turning back |
| < 20 m | Very thick fog | Turn back or wait in place |
Visibility can change very rapidly: a 10 km/h wind rising can disperse fog in minutes, but a weather front can thicken it just as fast. Reassess regularly, not just at the start.
See our guide on reading mountain weather forecasts before you go — fog forecasts are covered in detail there.
3. Walking on a Compass Bearing
Walking on a bearing is the fundamental navigation technique for fog. It consists of converting your intended route into an azimuth (angle relative to magnetic north) and maintaining that angle throughout your progress.
Taking a Bearing from an IGN Map
- Place the compass on the map, aligning one edge along the line connecting your current position to your destination.
- Rotate the compass dial until the orienting lines inside the compass align with the north-south meridian lines on the map.
- Read the bearing on the dial. Correct for magnetic declination if your compass doesn't do it automatically (in France, approximately +0° to +2° depending on the region).
Walking the Bearing
- Hold the compass flat in front of you, dial set to your calculated bearing.
- Rotate your whole body until the red magnetic needle aligns with the "N" on the dial.
- Pick out the most distant object visible in that direction — a rock, a tree, a hollow in the terrain.
- Walk to that object, then repeat.
Never look at the compass while walking: you will lose your line. Aim first, walk, then re-check at the next relay point.
A mirror or liquid-filled compass is more precise than a basic compass and makes reading the bearing while on the move easier.
Common Mistakes
- Rotating only your body, not the compass: gives a false reading.
- Reading magnetic declination without correcting it: the error is small in France but accumulates over distance.
- Changing bearing while walking: make all bearing corrections at a stop, at an identified map feature.
For a deeper introduction to navigation techniques, read our guide on how to navigate without GPS which also covers IGN map reading.
4. The Visual Relay Technique
Walking on a bearing requires a compass. When visibility is above 30–50 m, you can manage without one through visual relay, provided you stay on a marked trail or clearly identifiable terrain.
The principle is simple: before each move, identify a precise waypoint in the intended direction. This might be a pole planted by another hiker, a marker post, a marked tree, or a distinctively colored stone. Walk to that point, then from that point identify the next one.
The advantage of visual relay is that it forces slow, methodical progress, reducing the risk of deviation. The disadvantage is that it requires enough visibility to identify the trail's waypoints.
In forests, painted trail markings (paint on trees or rocks) are ideal for visual relay: each mark confirms you are heading the right way. On open terrain, look for cairns, distance markers, and trail posts. Learning to read France's trail marking system means you can quickly recognize the markings in fog.
One absolute safety rule: if you are using visual relay and can no longer see the next waypoint, stop. Do not continue hoping to find it. Return to the last known waypoint and search from there.
5. What a Headlamp Actually Does in Fog
Many hikers believe a headlamp compensates for fog. This is true in darkness, but in fog it is more nuanced — and often counterproductive.
Fog is made up of suspended water droplets. When an intense light beam (standard white lamp, halogen) strikes these droplets, it scatters in all directions. The effect is a "white wall": the more powerful the headlamp, the more it blinds its wearer and the less it illuminates in the distance.
What works better in fog:
- Red light: long wavelengths (red) scatter less than short ones (white, blue). On red mode, a headlamp maintains an overall view to 10–15 m without the "white wall" effect.
- Low-intensity light: paradoxically, turning your headlamp down to its minimum setting preserves vision better. On "low", the headlamp serves to be seen rather than to see far.
- Lower lamp position: holding the headlamp at hip or chest height creates less backscatter than wearing it on your forehead.
A headlamp with red light mode is essential gear in the mountains and in areas with frequent fog.
The real value of a headlamp in fog is not illuminating far, but being visible to other hikers and rescue services, and lighting your feet and map reading during the short stops when you need to check your position.
6. The Decision to Turn Back
Deciding to turn back is always hard. You have often hiked for hours, you can see the goal on the map, and the temptation to push on is strong. Here are objective criteria to make the decision easier.
Absolute Turn-Back Criteria
- Visibility < 20 m on a route with exposed sections (ridgelines, gullies, aerial passages).
- Loss of trail or map references: if you cannot place your position on the map within 200 m, you are lost.
- Fog + wind > 30 km/h: the combination lowers wind chill temperature, quickly soaks clothing, and makes compass reading difficult.
Criteria by Terrain
| Terrain | Turn-back trigger |
|---|---|
| Exposed ridgeline | Visibility < 50 m, wind > 20 km/h |
| Off-trail, complex terrain | Visibility < 100 m |
| Marked forest trail | Visibility < 30 m |
| Marked open-terrain trail | Visibility < 50 m |
When to Stop and Wait
If you have a nearby shelter (refuge, farm, forest edge) and if the forecast indicates fog clearing within 1–2 hours, waiting can be the right call. Morning valley fog often lifts before 10 am. Frontal fog can last all day.
If you have no shelter, if the fog is thickening, or if you are on exposed terrain, retrace your steps immediately, while you still have your references. Every additional hour makes the return harder.
Gear for Fog Hiking
A few pieces of equipment make a real difference when hiking in mist:
A GPS device with built-in maps is the most reliable way to maintain your position in fog: it does not depend on visibility and works even when the compass is difficult to read.
A waterproof, windproof shell jacket is essential: mist saturates clothing over hours, and humidity combined with wind chills rapidly even at mild temperatures.
A quality compass remains the indispensable complement to a GPS: it runs on no battery and works in all temperatures.
Waterproof hiking shoes become necessary as soon as mist sets in, as vegetation quickly becomes soaked.
Hiking in fog often produces uniquely memorable experiences — valley mist at sunrise, beech cathedrals in the fog of the Vosges, ridge silhouettes emerging from grey. These landscapes are among the most striking in hiking. But they require the right tools and the knowledge to use them before the situation becomes difficult.
Mastering the compass bearing, objectively assessing visibility, knowing your turn-back criteria: this is the navigation equivalent of footwork on slippery terrain. Unnecessary in good weather, essential the moment conditions change.
For more, see our guides on how to read an IGN map on a hike and how to navigate without GPS.
As an Amazon Associate, we earn from qualifying purchases. Links marked with an external icon are affiliate links.
Related reading
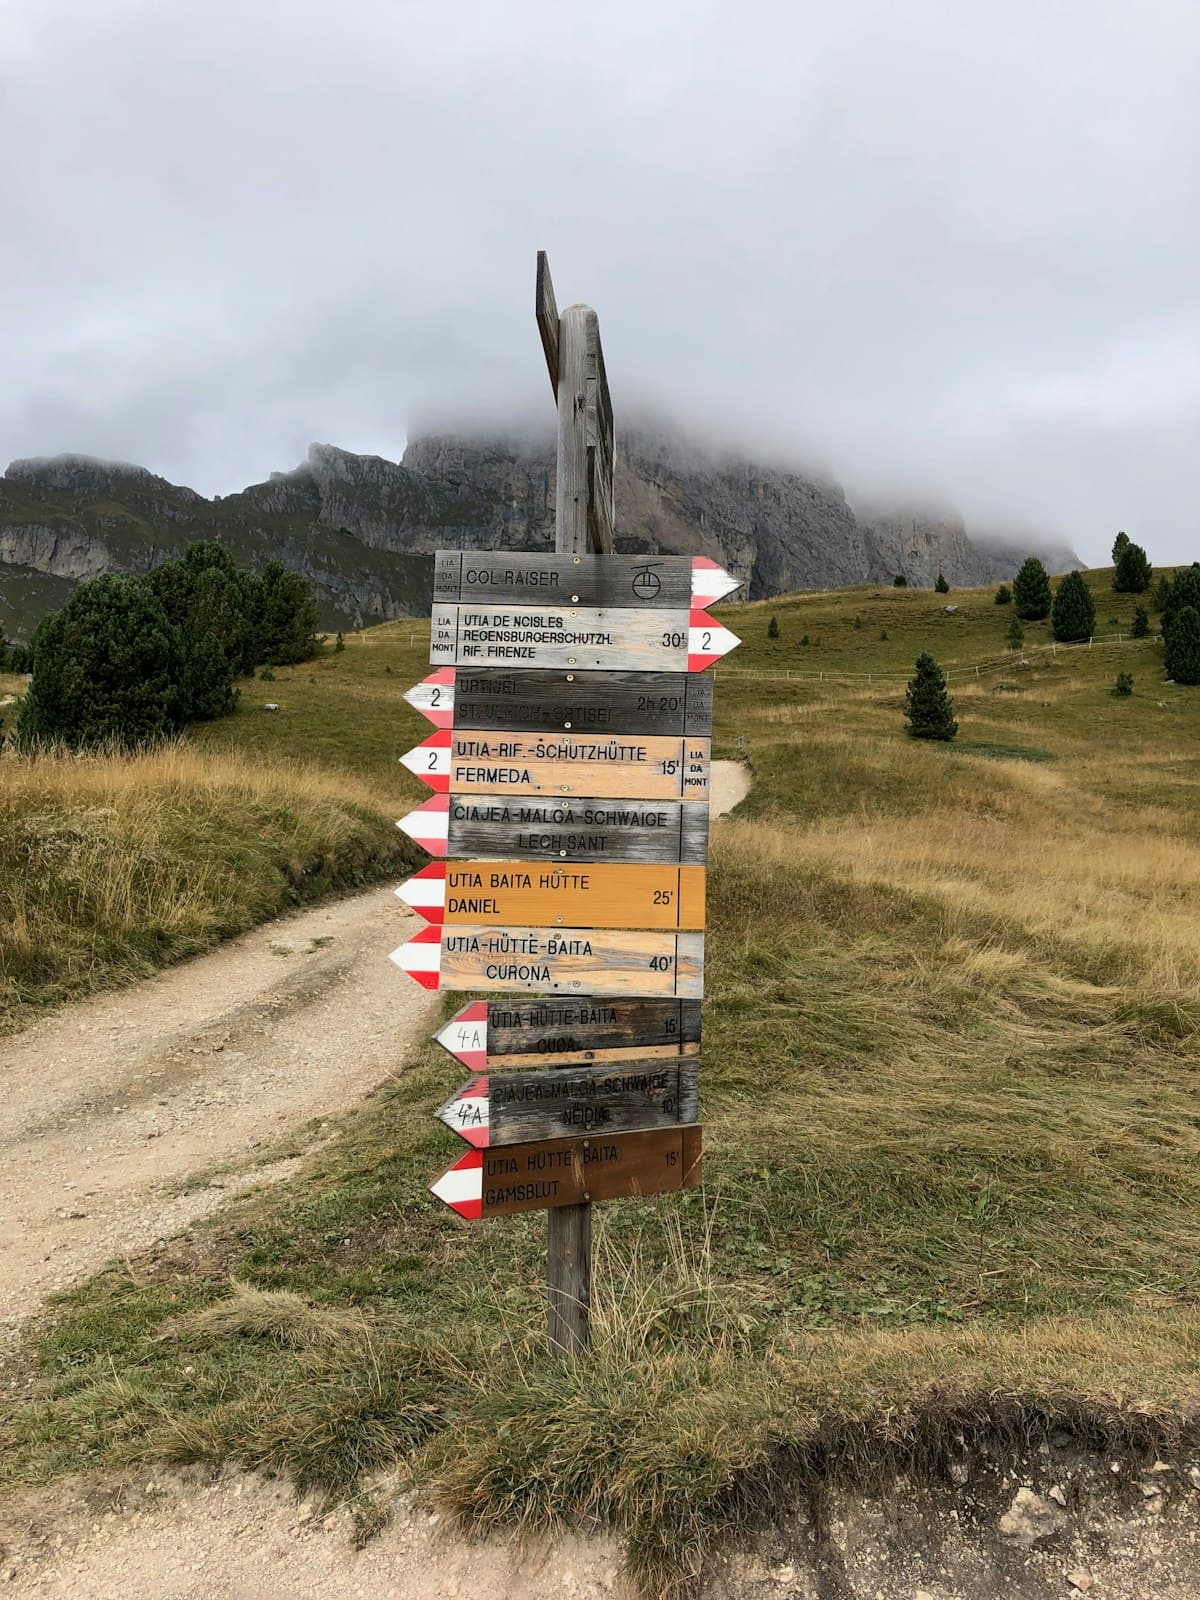
How to Navigate While Hiking Without GPS
Compass, topographic map, trail markers, natural landmarks: discover all the techniques to navigate while hiking without GPS and find your way with complete autonomy.
Hiking During Hunting Season: How to Stay Safe in Autumn
How to hike safely during hunting season in France: know the hunting dates by region, how to spot an active drive hunt, how to stay visible, and what to do if you encounter a battue.
The Ultimate Guide to Summer Hiking: Temperatures, Timing, and Gear
Everything you need to know to hike safely in summer: best departure times, how to manage heat, hydration, essential gear, and mistakes to avoid when temperatures soar.