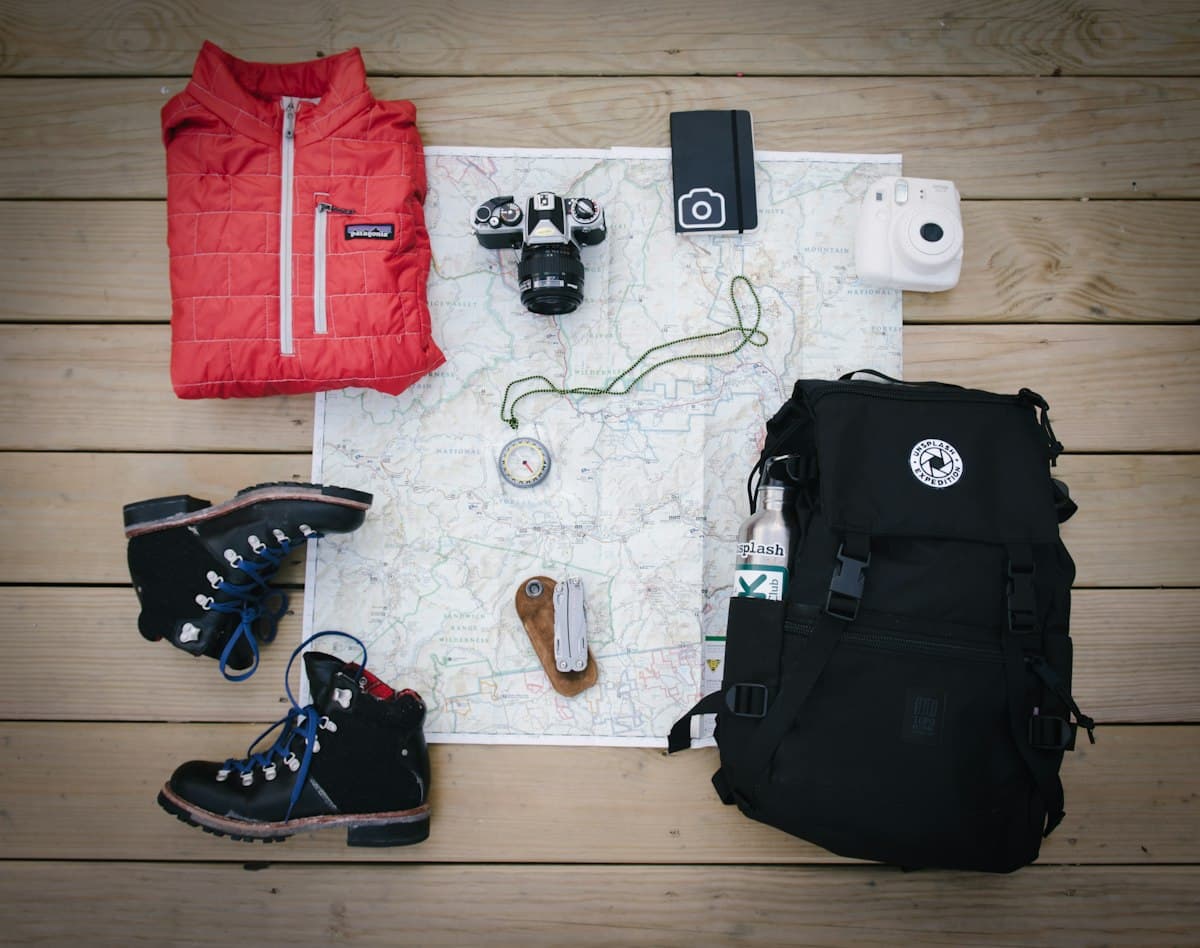
How to Prepare a Winter Hike
On a summer hike, an unexpected setback is usually just an inconvenience you work around. In winter, the same setback can quickly become an emergency. Night falls at 5 PM, the ground is frozen or snow-covered, temperatures drop 10 °C the moment you stop moving, and mountain rescue can take hours to reach you on snow-covered terrain. Preparation doesn't supplement physical fitness — it outweighs it. Here's how to structure your planning before you leave the trailhead.
1. Reading an Avalanche and Weather Bulletin
Winter mountain weather is not simply a matter of rain or sunshine. It's a two-part document you need to learn to read together.
The standard weather forecast (Météo-France, Weather.com) gives you temperature, wind and precipitation. But in the mountains, the wind speed reported at the reference station can be two or three times stronger on the ridgelines. Always check:
- Wind speed at your target summit, not just in the valley
- The 0 °C isotherm: everything below it is frozen, and surfaces become slippery
- Precipitation in the previous 24 hours: fresh snow equals elevated avalanche risk
The Avalanche Risk Bulletin (BRA) is published every morning by Météo-France for each mountain range. The scale runs from 1 (low) to 5 (very high). A BRA of 3 or above should lead you to seriously reconsider your route. For a deeper understanding of how to read these bulletins, see our article on avalanche safety for hikers.
Download both bulletins the evening before and again on the morning of your hike. If conditions have changed between the two, that's a strong signal to investigate further before heading out.
2. Calculating Your Time Buffer with Sunset at 5 PM
In summer, overshooting your planned summit time by 30 minutes rarely matters. In November, that same half-hour could mean finishing your descent in the dark, on frozen terrain, without a headlamp.
The basic rule: plan to be back at your vehicle at least one hour before sunset. In November in France, sunset falls between 5 PM and 5:30 PM depending on latitude. By December, it can drop to 4:40 PM.
Calculate your walking time using a cold-adapted version of Naismith's rule:
- 1 hour per 5 km on flat terrain
- +1 hour per 600 m of ascent (reduce to 500 m/h on snowy or technical terrain)
- +30% on the total for breaks, route checks, and the extra inertia from layered clothing
If the result exceeds your daylight window, shorten the route in planning, not from the trail. Decisions made in the field, when you're tired and excited by the scenery, are rarely the right ones.
The autumn clock change makes the issue worse. See our guide on hiking after the clocks go back to adjust your outings for shortening days.
3. Gear That Becomes Non-Negotiable
Several items that are optional in summer become essential the moment you step onto a winter trail.
A rechargeable headlamp is the first. Even if you plan to be back before dark, a single incident — a twisted ankle, a missed turn — can change everything. Choose a model with at least 300 lumens and a 6-hour battery life. Check the charge the night before.
rechargeable headlampMicrospikes or snow chains are essential the moment a trail could be icy. On a 15° slope covered in black ice, even the best hiking boot soles offer no grip. Lightweight steel microspikes fit in a jacket pocket and weigh only 300–500 g.
lightweight microspikes for hikingTelescopic poles reduce knee impact on descents, but in winter their stabilising role on unstable terrain is even more valuable. With snow-basket attachments, they prevent you from sinking knee-deep at every step in soft snow.
telescopic poles with snow basketsAn extra mid-layer: even if you set off in a light down jacket, a spare fleece in your pack can make the difference during a prolonged stop. The body cools remarkably fast when effort stops. For everything related to cold-weather risks, read our article on managing hypothermia while hiking.
lightweight fleece jacketWaterproof gloves: your hands are the first to suffer from cold and wind. Choose waterproof, breathable gloves rather than simple wool ones — they'll stay dry even after a fall in the snow.
waterproof hiking glovesA thermos with a hot drink is not a luxury. At -5 °C, drinking something warm every 90 minutes maintains your core temperature and your morale. It also lets you take a calorie break without exposing your hands to the cold for too long.
stainless steel thermos4. Planning and Communicating Your Fallback Route
A fallback plan isn't a sign of lacking confidence — it's the mark of an experienced hiker. Before you leave, define:
- A shorter alternative route that gets you back to the trailhead if something goes wrong: deteriorating weather, a group member slowing down, early signs of hypothermia
- A turnaround point: the time at which, if you haven't reached a certain point on the route, you automatically turn back
- A known shelter or refuge along the way: even if it's closed in winter, many mountain refuges keep an emergency room open with blankets and a means of communication
Write these down on a paper card in your jacket pocket — not just in your phone app. Batteries drain very quickly in sub-zero temperatures.
5. Telling Someone: What to Say
This step is consistently skipped. Yet in a serious accident, it is often the single element that allows rescue teams to find you quickly.
Before leaving, send a message to a trusted contact staying home. That message must include:
- The trail name and starting point: "I'm leaving from the car park at [village], [ridge trail] trail"
- The exact route: "I go up via X, return via Y"
- Your estimated return time: "I'll be back before 5 PM"
- The trigger instruction: "If you haven't heard from me by 6:30 PM, call 15 (SAMU) or 112"
That last piece of information is the most important. Without it, your contact doesn't know when to worry, and may wait several hours before alerting rescue services.
6. Defining Your Turnaround Criteria in Advance
The decision to turn back is almost always made too late. It's hard to make in the field because you're tired, emotionally invested, and tempted to "just see a little more". The solution: define your turnaround criteria before you leave, with a clear head.
Some practical examples:
- Visibility: if I can't see more than 50 m ahead, I turn back
- Time: if I haven't reached the pass by 1:30 PM, I give up on the summit
- Wind chill: if it drops below -15 °C (including wind), I turn back
- Group condition: if any group member shows signs of excessive cold or unusual fatigue, everyone descends
Write them down. Reread them in the car park before you set off. This simple habit can save your life — or at least spare you an unexpected night outdoors.
Winter hiking offers scenery and solitude that summer simply can't match. It just forgives far fewer approximations. With rigorous preparation — bulletins checked, timing calculated, gear verified, fallback plan shared — you can head out in winter with the same pleasure as in summer, and come back in equally good shape.
As an Amazon Associate, we earn from qualifying purchases. Links marked with an external icon are affiliate links.
Related reading
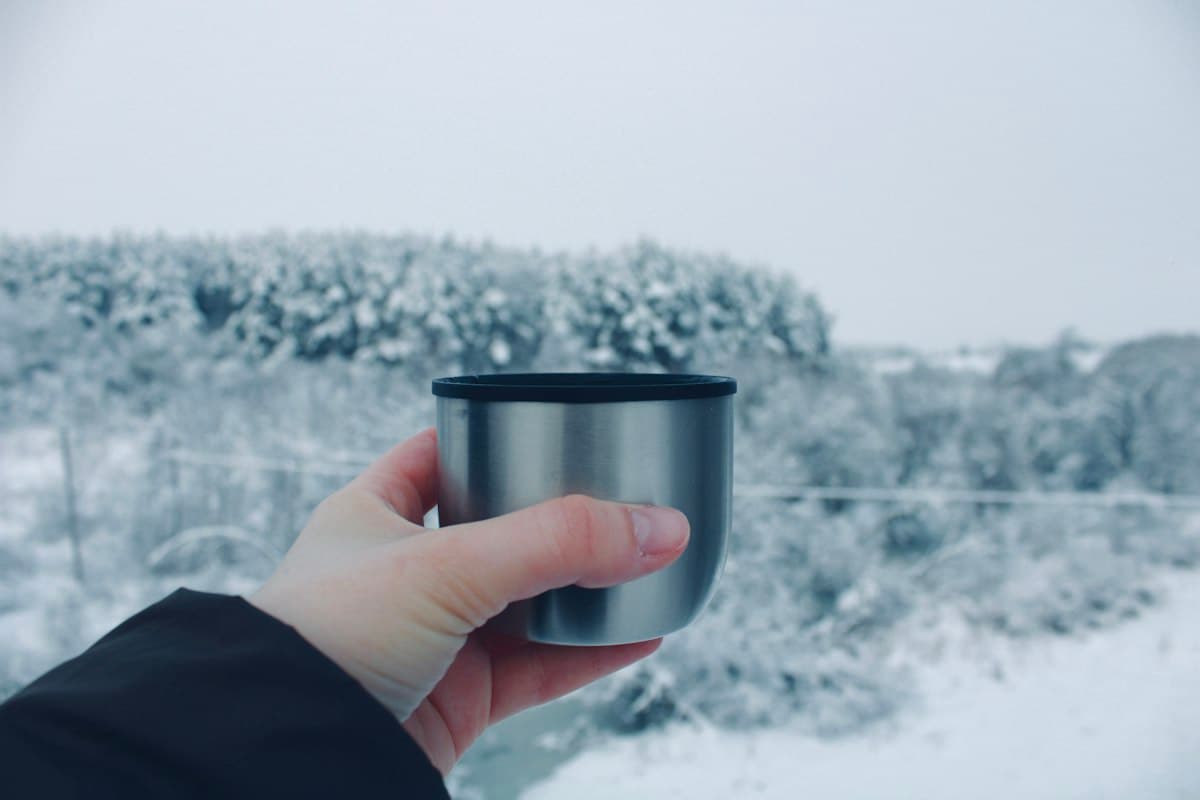
Winter Hiking Nutrition: Eating Smart in the Cold
How to fuel your winter hikes: increased calorie needs in the cold, foods that freeze, staying hydrated without feeling thirsty, and the power of hot drinks.
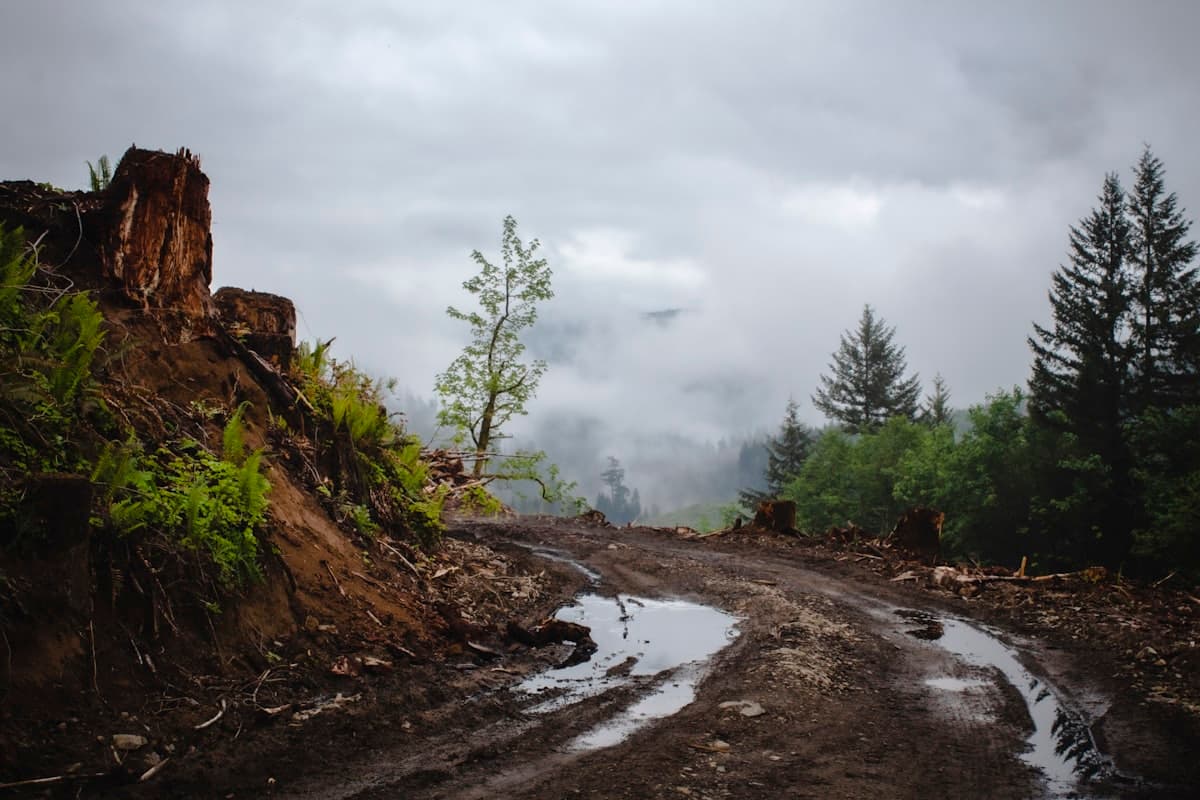
Hiking After Rain: Muddy Trails and Flooded Streams
Hiking after heavy rain: how to assess trail conditions, safely cross a flooded stream, and know when to turn back.
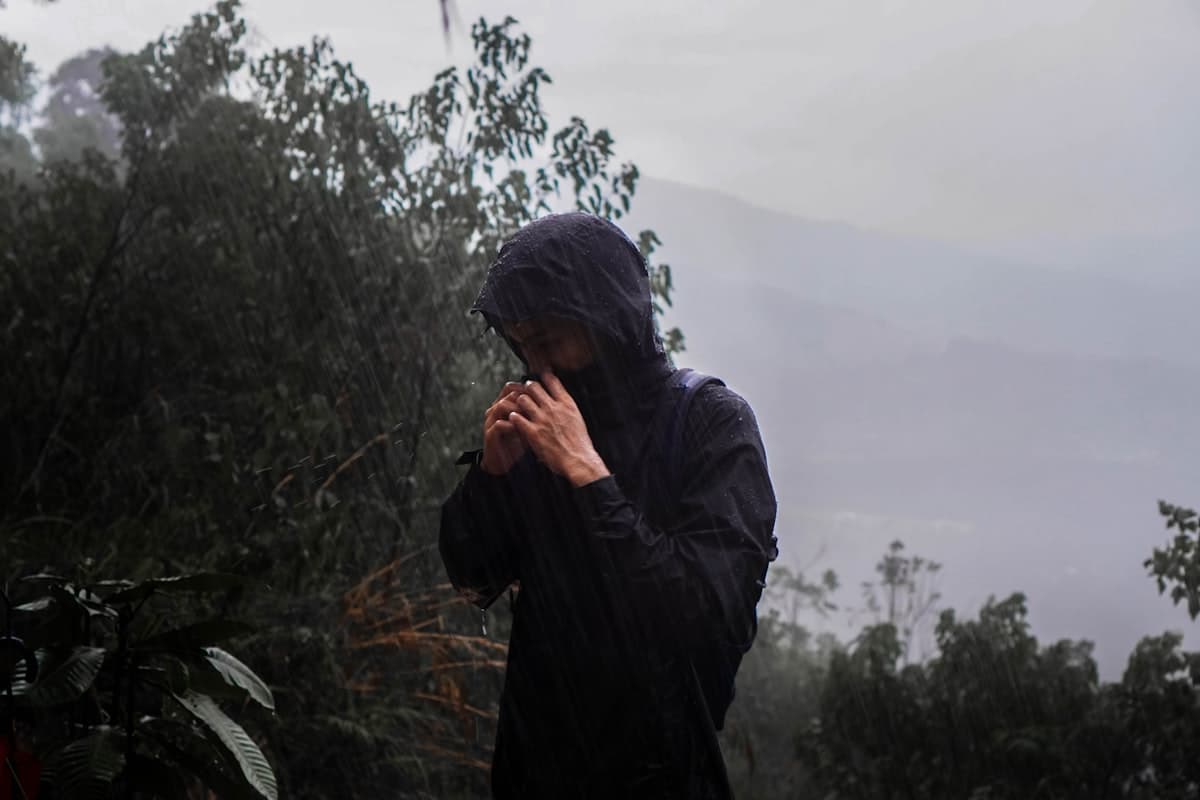
Hiking in the Rain: Tips and Essential Gear
Rain doesn't have to mean turning back. Discover all the tips and essential equipment for hiking in the rain safely — and enjoy the trails from a whole new perspective.