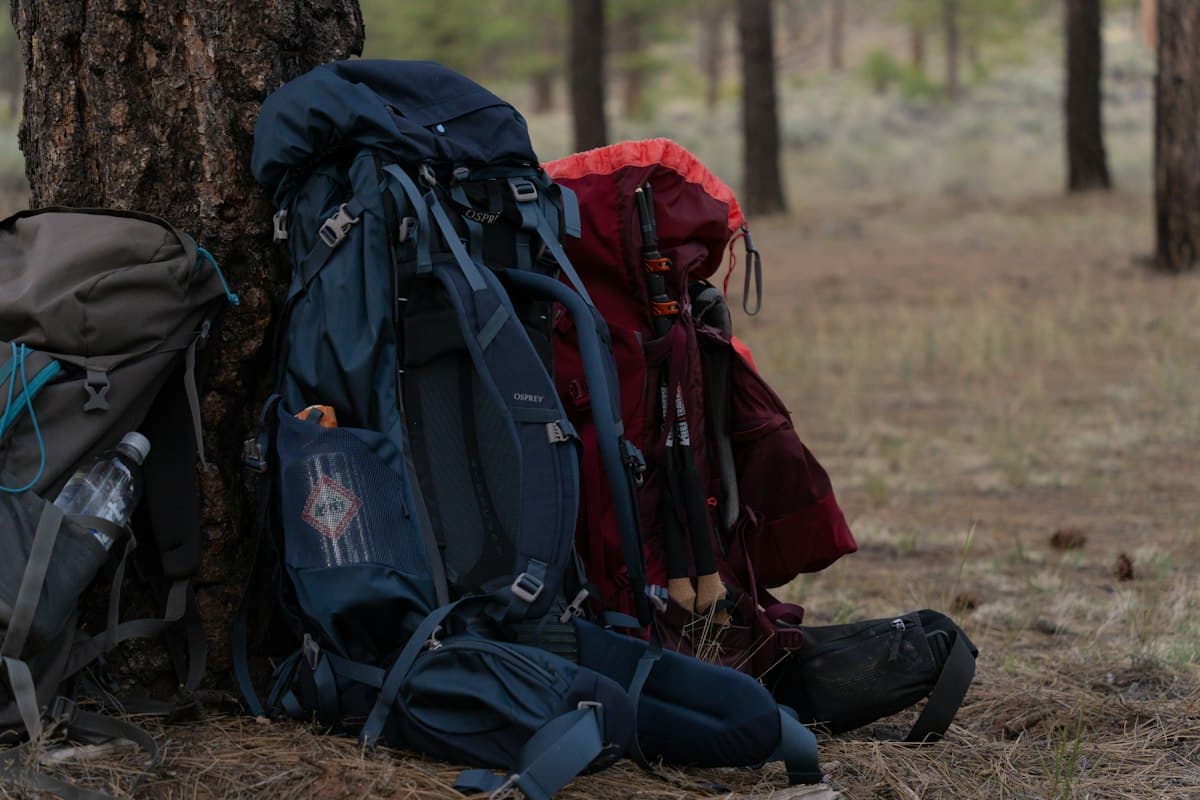
How to Care for Your Hiking Backpack: Cleaning, Repairs and Storage
A quality hiking backpack is a 100–300 € investment. Properly maintained, it can last ten to fifteen years. Neglected, it shows signs of wear by the third season: peeling coatings, stiff zippers, deformed straps. The good news: the steps that extend a backpack's life are simple, inexpensive, and quick to learn.
This guide covers the complete maintenance of a hiking backpack — from washing to storage, from field repairs to the diagnostics that justify replacement.
What Actually Destroys a Backpack
Before talking about cleaning, it helps to understand a backpack's real enemies. Many hikers focus on visible tears and ignore the silent degradation that eventually makes a pack unusable.
Sweat and Salt
Human sweat is slightly acidic and rich in mineral salts. Every outing, the back panel absorbs a significant amount of perspiration. Left without rinsing, that sweat crystallises and progressively degrades synthetic fibres, back-panel foam and the internal waterproof coating. The persistent odour that develops in old packs isn't ordinary "dirt" — it's accumulated salt and bacteria locked inside materials that have never been rinsed.
Basic rule: after any outing longer than 3 hours with a loaded pack, rinse the back panel, shoulder straps and hip belt with clean water. It takes two minutes and prevents months of degradation.
UV and Heat
Nylon and polyester lose tensile strength under prolonged UV exposure. A pack left for hours in direct sunlight (on a terrace, in a car, on an exposed ridge) undergoes accelerated ageing. The dye fades, but more importantly the fibres weaken structurally — invisible to the eye, yet measurable by the fact that they tear more easily under stress.
Excessive heat (a car boot in summer, a radiator for quick drying) has the same effect. The glass transition temperature of nylon 6.6 is around 50 °C — easily reached in a car boot in August.
Basic rule: dry in the shade, store away from light. Never dry in a tumble dryer or near a heat source.
Stagnant Moisture
Storing a damp pack in a closed wardrobe creates the perfect environment for mould growth. These microscopic fungi degrade synthetic fibres, attack foams and take permanent hold in seams. Once mould is established in a back-panel foam, it is practically impossible to eliminate completely.
Basic rule: always store a pack completely dry, with the bag open, in a well-ventilated space.
Washing Your Pack Without Damaging the Coating
A full wash should be done two to three times per season, or after every multi-day trip. How you wash matters as much as how often.
What You Should Never Do
Machine washing: the quickest way to destroy a backpack. The drum pulls at buckles and straps, shears seams, and — crucially — the spin cycle destroys the foams in the shoulder straps and back panel. Many manufacturers explicitly forbid it in their warranty terms.
Regular laundry detergent: standard surfactants leave residues that clog the pores of the DWR (Durable Water Repellency) coating. A pack washed with ordinary detergent that no longer repels water isn't defective — its DWR treatment is simply saturated with residue.
Tumble drying: even on a delicate cycle, the result is the same as machine washing. Forbidden.
The Correct Method: Hand Washing
-
Empty the pack completely — remove any removable inner pockets, rain covers and trekking poles from their holders.
-
Prepare a basin of lukewarm water (not hot — under 30 °C) with a suitable product. Choose a technical outdoor gear wash (Nikwax Tech Wash, Grangers Performance Wash) — these products clean without destroying the DWR.
-
Scrub dirty areas with a soft brush or microfibre cloth. Focus on the back panel, shoulder straps and hip belt. For stubborn stains (resin, dried mud), a soft-bristle brush reaches into seam corners.
-
Rinse thoroughly with clean water until all foam disappears. Soap residues are as damaging as dirt.
-
Gently wring by hand pressing — never twist or machine-spin.
-
Dry in the shade, pack turned inside-out, in a well-ventilated space. Allow 24 to 48 hours depending on foam thickness. Keep all pockets and zippers open during drying.
Treating Persistent Odours
If the pack still smells of sweat after washing, the back-panel foams are probably colonised. Use a 50/50 solution of water and white vinegar: spray generously over the back panel and straps, leave for 15 minutes, rinse and dry. For severe cases, an enzymatic spray for sports equipment (Nikwax Base Wash, Dr. Bronner's) dissolves organic residues.
Reactivating the DWR Treatment
The DWR (Durable Water Repellency) coating is the hydrophobic treatment applied to the outer fabric. It makes water bead and roll off rather than soaking in. Over time and with washing, this treatment wears off and becomes blocked.
The sign: instead of beading, water "wets" and darkens the fabric. The pack isn't necessarily letting water in (it usually has an inner waterproof layer too), but a wet outer fabric becomes heavy and dries slowly.
Reactivate vs. Reapply
Reactivate (try this first): sometimes the DWR is simply "dormant" from sweat or soap residues, not destroyed. A brief spell of low heat (tumble dryer at 30 °C for 20 minutes, or a warm iron on the reverse through a clean cloth) can reactivate DWR molecules without any additional product. Try this before reapplying.
Reapply (if reactivation isn't enough): use a spray-on waterproofer for synthetic gear such as Nikwax TX.Direct Spray-On or Grangers Performance Repel. Apply to a clean, slightly damp fabric, leave according to instructions, then air dry in the shade.
Note: PFAS-based (fluorocarbon) products have been progressively removed from the market or reformulated for environmental reasons. New fluorocarbon-free DWR treatments (Nikwax, Grangers, Holmenkol) are less durable but environmentally responsible.
Caring for Zippers and Buckles
Zippers and buckles are the first elements to fail and the ones that render a pack unusable. Regular maintenance prevents 90% of problems.
Zippers
The most common problem: a slider that sticks, catches or skips teeth. Before considering replacement, try:
-
Clean the tracks with a soft brush to remove sand, dirt and residues. A damp cotton swab in the track grooves works wonders.
-
Lubricate the slider with a zipper lubricant (paraffin wax pencil, Zipper-Ease, or a dry bar of Marseille soap). Never use a greasy oil or WD-40 — these attract dust and end up blocking the zipper.
-
Gently pinch the slider with pliers if it has developed play and is skipping teeth — a delicate operation best done with care.
YKK zippers: the best mountain zippers use YKK #8 or #10 standard. Recognisable by the "YKK" marking on the slider. If replacing a slider, specify the size (5, 8 or 10) and direction of opening.
Buckles and Clips
Duraflex and ITW Nexus buckles are the industry standards for outdoor backpacks. They require no particular maintenance other than rinsing after exposure to salt water or mud.
A click that no longer holds, a cracked buckle or a broken clip can easily be replaced: Duraflex buckles are sold individually at haberdashery shops or online for a few cents. Knowing your strap width (usually 25 mm or 38 mm) is all you need to order the right piece.
Field Repairs
Some failures happen mid-hike. Having the right materials in your repair kit lets you continue without turning back.
Repairing a Tear in the Fabric
Tears in technical fabrics (Cordura, Ripstop nylon) don't stop on their own — the rip continues under tension. Field repair:
-
Ripstop adhesive patches: self-adhesive Ripstop nylon patches (Gear Aid Tenacious Tape, McNett Ripstop Repair Tape) stick directly onto clean, dry fabric. They last several seasons and are washable. Cut the corners of the patch into a rounded shape to prevent the edges peeling.
-
Tenacious Tape in roll form: same principle but in a roll, useful for long tears or irregular shapes.
At home, a permanent repair involves machine sewing with nylon thread using a reinforced zigzag stitch, followed by outdoor fabric adhesive on the edges.
Repairing a Failed Seam
The seams on attachment straps — especially the junction points between the hip belt and the pack body — are the most stressed and the first to give way. In the field, an outdoor sewing repair kit with heavy nylon thread (40–50 N) and a sail needle allows a temporary seam repair.
At home, if the seam is structural (shoulder strap junction, hip belt attachment), have it repaired by a cobbler or saddler rather than a domestic sewing machine — the stitches must be deep and tight to withstand load stress.
The Emergency Rain Cover
The integrated rain cover on many packs degrades faster than the pack itself. If it has holes or its DWR is exhausted, a universal rain cover (sized in litres — 30–40 L or 50–70 L depending on your pack) costs under 15 € and provides effective protection.
Storing Your Pack Between Seasons
Off-season storage is a step many hikers rush. Yet this is where extra years of longevity are won or lost.
Before Storing
- Wash completely following the method above.
- Dry thoroughly — at least 48 hours. Check the back-panel foams by pressing: if they stay cool and slightly damp, keep drying.
- Check and reapply DWR if necessary.
- Fix small issues now rather than at the next outing: a seam starting to fail, a zipper to clean, a cracked buckle.
How to Store
- Position: flat or hanging by the carry handle. Avoid compressing it in a drawer or under other gear — foams need space to retain their shape.
- Environment: dry, ventilated, stable temperature, away from direct light. A well-aired wardrobe is ideal. Avoid damp cellars, attics under the roof (alternating heat and humidity), sealed plastic bags (humidity traps).
- Avoid: do not keep tick repellents or household chemicals in contact with the pack — their fumes degrade synthetic materials.
Storing the Pack Inside Itself
Some packs can be turned inside-out and stored inside their own top pocket. Handy for transport, but use sparingly for long-term storage: continuous compression of the straps and hip belt over several months deforms the foams.
When Repair Is No Longer Worth It
There comes a point where investing in a new pack is more rational than continuing to repair. How to recognise it?
Signs That the Pack Has Reached End-of-Life
-
Peeling internal coating: the polyurethane layer that makes the shell waterproof cracks and flakes in small scales. Once this process starts, it is irreversible. The pack is no longer waterproof from the inside, regardless of any exterior DWR treatment.
-
Collapsed back-panel foams: a back panel that no longer recovers its shape after use, shoulder straps that flatten under load — the EVA or PU foams have reached their compression/recovery limit. Comfort disappears and the risk of back pain increases.
-
Broken frame: aluminium stays or frame sheets can bend permanently or break. On some models they are replaceable (check with the manufacturer); on others, this is terminal.
-
Shoulder straps pulling away: if the stitching at the strap-to-shell connection gives way, a solid repair is difficult without professional equipment. There is a risk of the pack falling during heavy load carrying.
If your pack shows one or more of these signs, it's time to replace it. Our 30–40 L backpack comparison can help you choose the next model, with criteria that actually matter for hiking in Provence and the Southern Alps.
Shoe Care While You're at It
If you're reading this article, you're probably serious about maintaining your gear. Applying the same care to your hiking shoes is the second most cost-effective maintenance gesture. Find our complete guide on hiking shoe care.
The Ideal Maintenance Kit
To summarise, here is the minimum kit to have at home for proper hiking backpack maintenance:
| Use | Product |
|---|---|
| Technical washing | Nikwax Tech Wash |
| DWR reactivation/application | Nikwax TX.Direct Spray-On |
| Fabric repair | Gear Aid Tenacious Tape |
| Zipper lubrication | Paraffin wax pencil or dry soap bar |
| Odour treatment | Enzymatic spray + white vinegar |
A budget of 30–40 € for this kit, applied to a 200 € pack, can easily double the equipment's lifespan — and save you outings ruined by a stuck zipper or a pack that leaks.
To plan your next hikes with your gear in top shape, explore the OpenRando map — trails filtered by difficulty, elevation gain and duration throughout Provence and the Southern Alps.
As an Amazon Associate, we earn from qualifying purchases. Links marked with an external icon are affiliate links.
Related reading
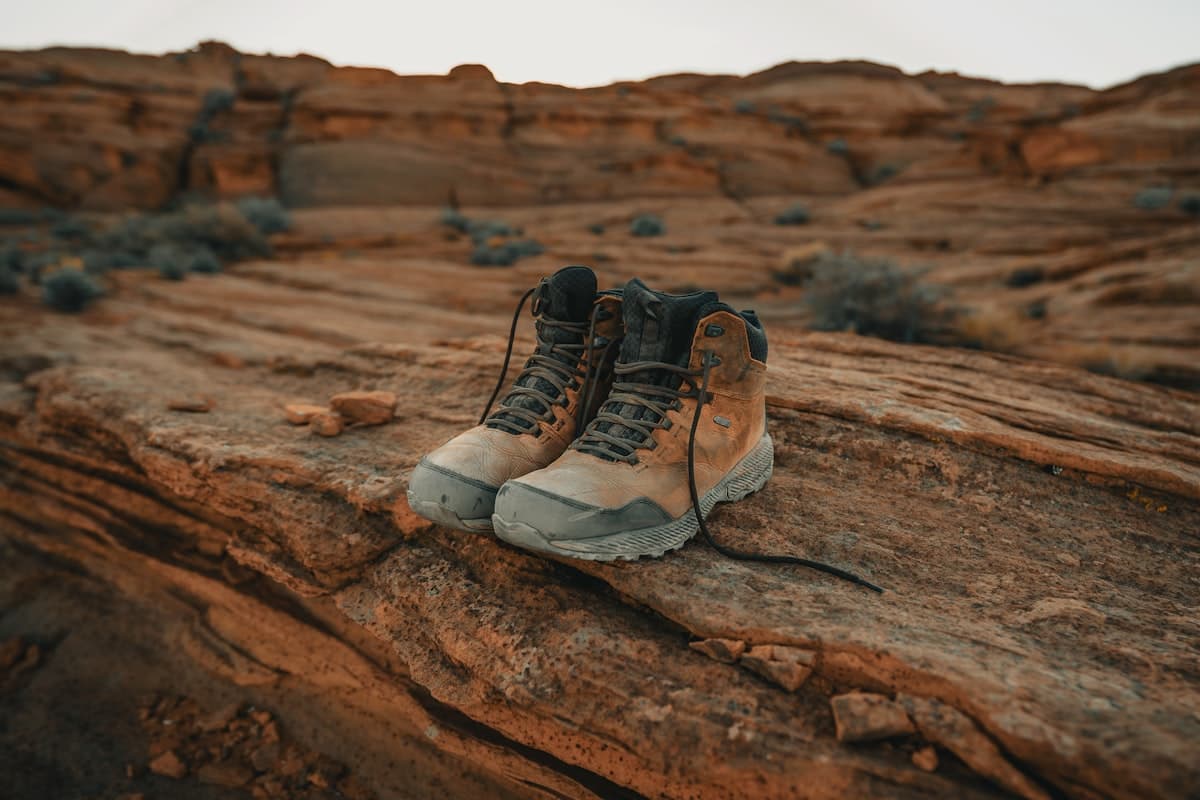
How to Care for Your Hiking Boots: The Complete Guide
Cleaning, drying, waterproofing, leather conditioning: everything you need to know to maintain your hiking boots and make them last for years.
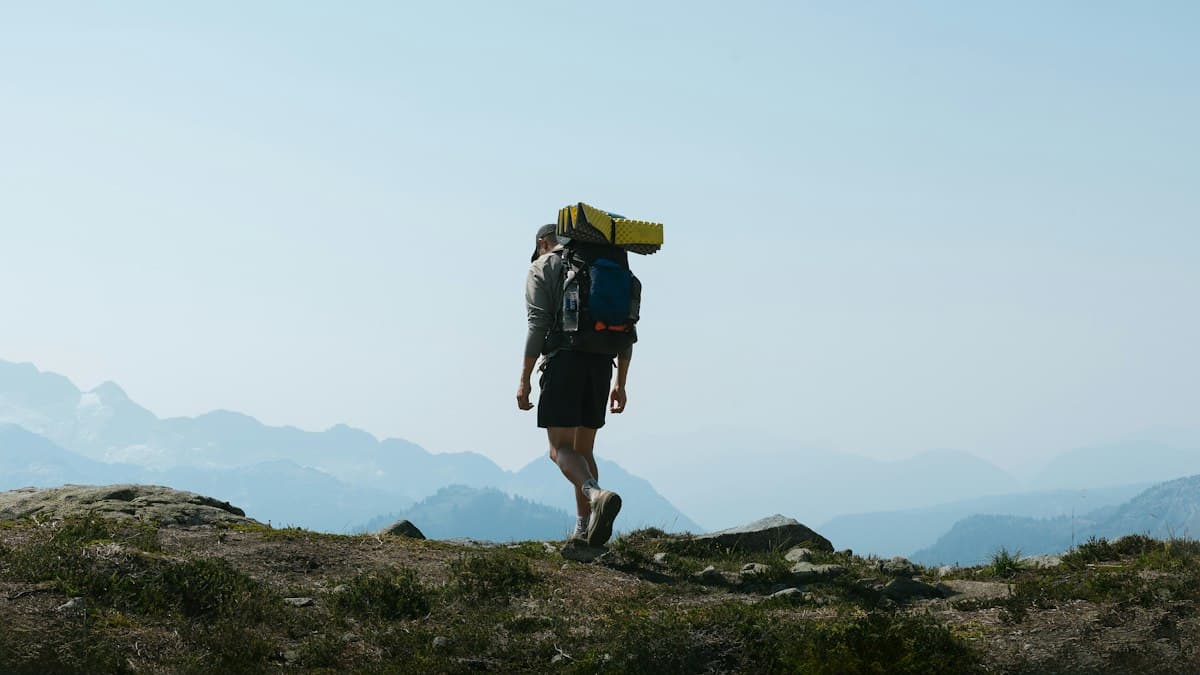
How to Properly Fit Your Hiking Backpack: The Adjustment That Changes Everything
How to adjust your hiking backpack in the right order: hip belt, shoulder straps, load lifters, and sternum strap. The complete method in six steps.
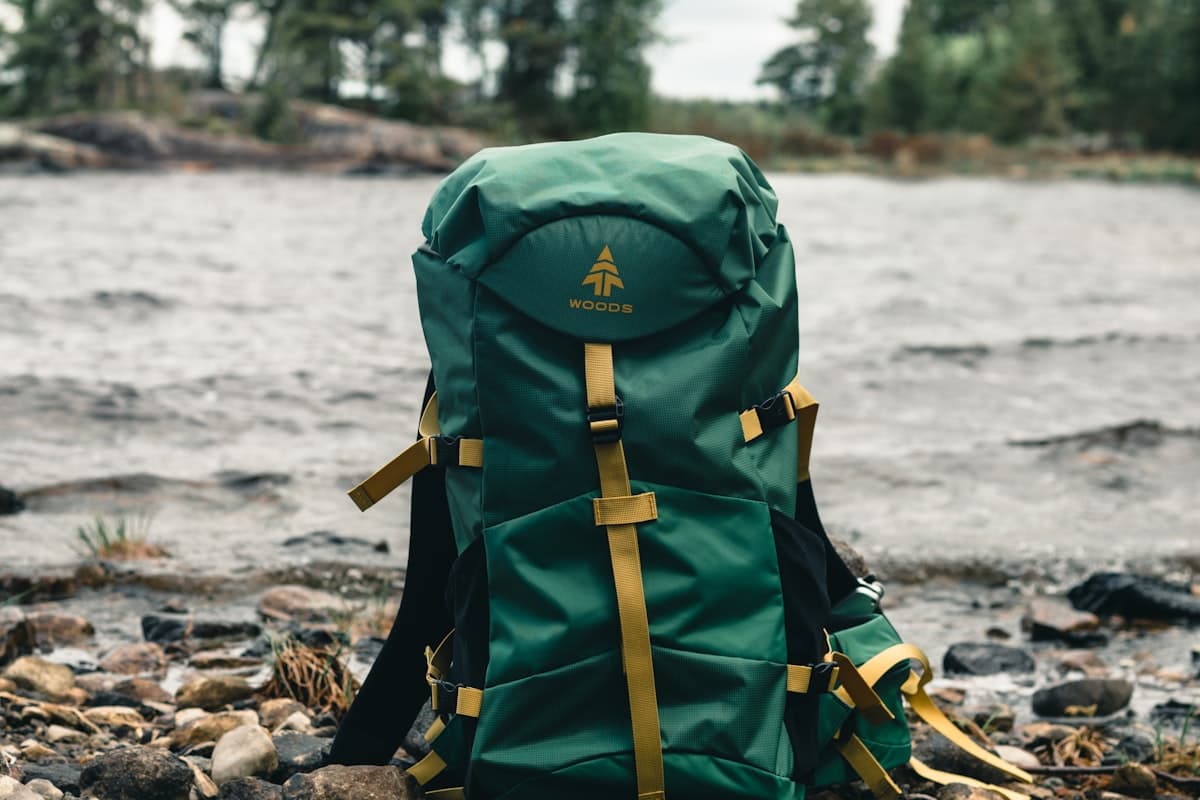
How to Choose a Hiking Backpack: The Complete Guide
Volume, carrying system, adjustments, compartments… All the criteria for choosing the ideal hiking backpack based on your activity, trip duration, and body type.