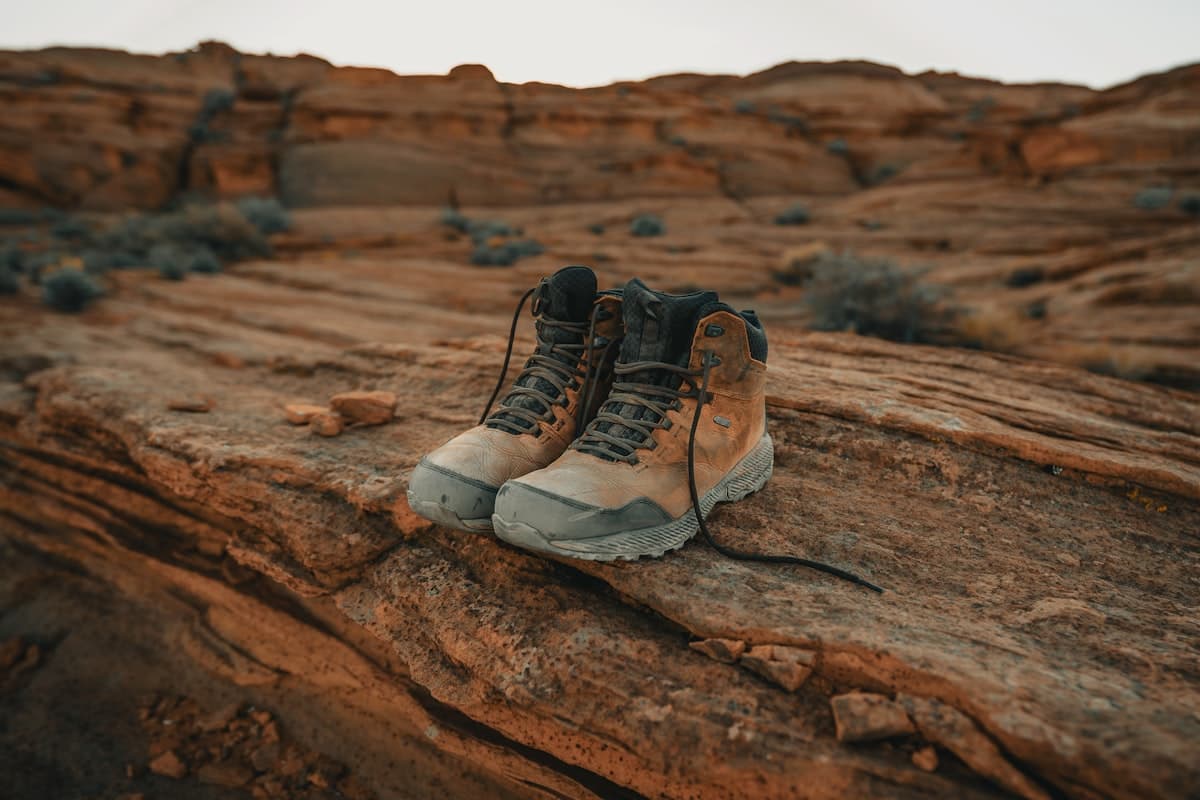
How to Care for Your Hiking Boots: The Complete Guide
Your hiking boots are the most important investment you make on the trail. A good pair can easily cost €150 to €300, and some premium full-grain leather models go beyond €500. Yet most hikers neglect boot care — and then wonder why their footwear only lasts two or three seasons when, with the right maintenance, it could last five, six, or even ten.
Proper maintenance is also a matter of performance and safety: a sole that separates mid-trail on a technical path, a boot that loses its waterproofing at the first rain shower, laces that snap when you tighten them — all of these are preventable incidents. This guide gives you everything you need to keep your boots in top shape for as long as possible.
Why Hiking Boot Maintenance Is Essential
Hiking boots endure far greater stress than casual shoes or sports footwear. Mud, rocks, roots, water, perspiration salts, UV rays, temperature swings — every outing simultaneously attacks the upper, the sole, the stitching, and the waterproof coating.
Without care, here's what happens:
- The waterproof membrane saturates: Gore-Tex or eVent stop breathing properly, your foot sweats more, and your socks stay wet even when no water enters from outside.
- Leather dries out: fibres crack, stitching weakens, the upper loses its structure.
- The sole separates: the adhesive bonding the Vibram sole deteriorates badly under repeated wet/dry cycles without treatment.
- Laces snap: usually at the friction points against eyelets or D-rings.
Well-maintained boots last 3 to 5 times longer than neglected ones. Over time, the cost of care products is nothing compared to replacing a pair.
Care After Every Hike
Step 1: remove mud and dirt before anything else
As soon as you get back, never let your boots dry with mud on them. Dried earth absorbs residual moisture, prevents the upper from breathing, and can harden to the point of cracking leather or synthetic materials.
The process:
- Remove the laces and insoles.
- Knock the soles together to dislodge large clumps.
- Rinse with cold water (never hot) using a stiff-bristled brush — an old toothbrush works perfectly for tight spots.
- Never use a high-pressure washer: it damages stitching and can strip surface treatments.
- Wipe with a damp cloth, then allow to drip-dry.
Step 2: drying — the most critical step
This is where most people go wrong. Improper drying causes the majority of premature damage to hiking boots.
What to never do:
- Do not place boots near a radiator, tumble dryer, fireplace, or in direct sunlight. Intense heat warps the upper, dries out leather, and degrades the sole adhesive. 80% of sole separations are caused by excessive heat.
- Do not leave them closed with laces tightened: moisture stays trapped inside.
The right method:
- Stuff the boots with crumpled newspaper (not glossy paper), which absorbs internal moisture. Change the paper every 2–3 hours if the boots are very wet.
- Place them in a well-ventilated spot at room temperature (15–20°C), laces open.
- Avoid damp locations like an unventilated basement.
- Allow 12 to 24 hours for complete drying depending on ambient humidity.
Cedar wood inserts are an excellent alternative to newspaper: cedar absorbs moisture, neutralises odours, and has natural antifungal properties.
Material-Specific Care
Full-grain leather and nubuck boots
Leather is the most noble and durable material but also the most demanding to maintain. Once dry, leather boots must be treated regularly.
Recommended frequency:
- After every outing in wet or muddy conditions.
- At least once a month during the active season.
- Always before a multi-day trek or long hike.
Conditioning full-grain leather:
Full-grain leather (smooth, slightly glossy grain) is treated with leather grease, beeswax, or leather balm. These products nourish the fibres in depth and restore the leather's natural suppleness and waterproofing.
- Apply leather grease with a soft cloth or your fingers (body heat helps absorption).
- Work in small amounts, paying particular attention to seams and flex zones (the toe box area).
- Allow 30 minutes to absorb, then wipe away any excess with a clean cloth.
- A light application every 15–20 days during the active season is sufficient for most leathers.
Note: conditioning slightly darkens leather, particularly nubuck. If you want to preserve the original colour, use a product specifically formulated for nubuck (usually a spray).
Nubuck and roughout leather:
Nubuck and suede (roughout leather) have a slightly velvety surface that reacts differently. Use a special nubuck brush to revive the fibres after cleaning. Do not apply standard grease — it would flatten the nap. Use a nourishing spray designed for nubuck instead.
Synthetic and textile boots
Boots with textile uppers (nylon, polyester, mesh) are simpler to maintain than leather but still require regular care.
- Clean with a soft brush and lukewarm water with a little mild soap (or a specialist technical footwear cleaner).
- Rinse thoroughly to remove all soap residue.
- Air dry.
- Reapply a waterproofing treatment after each wash.
Waterproofing: an essential treatment
This is probably the most neglected part of boot care, and yet one of the most important. Most hiking boots combine a waterproof membrane (Gore-Tex, eVent, Sympatex…) with a DWR (Durable Water Repellency) treatment on the outer surface.
How DWR works
DWR is a chemical coating applied to the upper that makes water bead up into droplets rather than soaking in. It protects the membrane by preventing the upper from becoming saturated — a saturated upper, even with an intact membrane, loses breathability and insulation.
This treatment wears down over time with washing, abrasion, and use. You'll know it's gone when water no longer beads up and the upper "wets out", absorbing water instead of repelling it.
When to reapply
- As soon as water stops beading on the upper.
- After every wash with soap and water.
- At the start of each season as a preventive measure.
How to apply
- The boots should be clean and slightly damp (not dry) for best absorption.
- Apply a DWR waterproofing spray evenly over the entire outer surface.
- For leather boots, conditioning partly replaces this treatment, but a complementary waterproof spray is still recommended.
- Activate the treatment by running the boots through a tumble dryer on low heat (40°C max) or directing warm air from a hairdryer at 30 cm. Heat activates the DWR polymer.
- Allow to cool before use.
There are also 2-in-1 cleaner + waterproofer products that simplify the process — particularly practical for synthetic boots.
Sole Maintenance
The sole is often overlooked in maintenance routines, yet it deserves some attention.
Clearing the lugs
The traction lugs (Vibram or equivalent) regularly get clogged with mud, embedded pebbles, or resin. Clogged lugs slip — particularly dangerous on wet terrain or descents on wet limestone, which you'll encounter often on Provençal trails like those in the Calanques or Luberon.
After every outing in muddy terrain, clean the lugs with a stiff brush or a wooden stick. Avoid metal objects that could cut into the rubber.
Monitoring wear
Worn soles mean unsafe boots. Regularly check the condition of the lugs:
- If the cleats have worn to less than 3–4 mm depth, grip is compromised.
- If the sole wears unevenly (one side of the heel more than the other), this often indicates a pronation issue worth correcting with an orthotic insole.
Most specialist cobblers offer resoling for €60–90 — far cheaper than a new pair of boots.
Lace Maintenance
Often forgotten, laces endure enormous stress: friction against eyelets and D-hooks, repeated tension, constant moisture. A lace that snaps mid-hike is at best an inconvenience, at worst a danger.
- Visually inspect laces before every long outing, particularly at tension points.
- Replace them as soon as they fray or show broken threads.
- Always carry a spare pair of laces in your pack for multi-day hikes.
Off-Season Storage
If you don't hike during summer or winter, here's how to store your boots properly:
- Clean and dry completely before storing.
- Apply a final leather conditioning or waterproofing treatment.
- Stuff the boots with crumpled paper or cedar forms to maintain their shape.
- Store in a cool, dry, ventilated place — never in a sealed plastic bag, which traps residual moisture and encourages mould.
- Avoid damp basements and garages exposed to large temperature swings.
When to Replace Your Hiking Boots
Even with the best maintenance, your boots have a finite lifespan. Here are the signs that it's time to invest in a new pair:
- Worn soles: less than 3 mm of lug depth remaining.
- Perforated or delaminating upper: systematic internal moisture despite treatments.
- Failed membrane: feet get wet from inside with no visible cut in the upper.
- Exhausted midsole cushioning: onset of heel or knee pain that didn't exist before — the foam has lost its elasticity.
- Open seams: unrepairable on most modern models.
On average, a well-maintained pair of hiking boots lasts 500 to 1,000 km depending on terrain and use. Log your hikes on OpenRando — you'll know exactly when to replace them.
Summary: Your Care Routine at a Glance
| Frequency | Action |
|---|---|
| After every outing | Clean, dry correctly, inspect laces |
| After muddy/wet outing | + Reapply waterproofing if needed |
| Every 15–20 days (leather) | Condition or nourish the leather |
| Start of season | Check sole + preventive waterproofing |
| Before off-season storage | Full clean + conditioning + correct storage |
With your boots in perfect shape, all that's left is choosing your next adventure. Explore the routes available on OpenRando — whether you prefer the trails of the Luberon, the cliffs of the Calanques, or the wild paths of the Mercantour, your next hike is waiting.
As an Amazon Associate, we earn from qualifying purchases. Links marked with an external icon are affiliate links.
Related reading
How to Care for Your Hiking Backpack: Cleaning, Repairs and Storage
Clean, repair and extend the life of your hiking backpack: washing, zippers, DWR treatment and field repairs — the complete maintenance guide.
How to Choose Hiking Boots: The Complete Buying Guide
High-cut or low-cut, outsole, waterproofing, upper materials… Discover all the criteria for choosing the perfect hiking boots based on your activity and terrain.
How to Properly Fit Your Hiking Backpack: The Adjustment That Changes Everything
How to adjust your hiking backpack in the right order: hip belt, shoulder straps, load lifters, and sternum strap. The complete method in six steps.