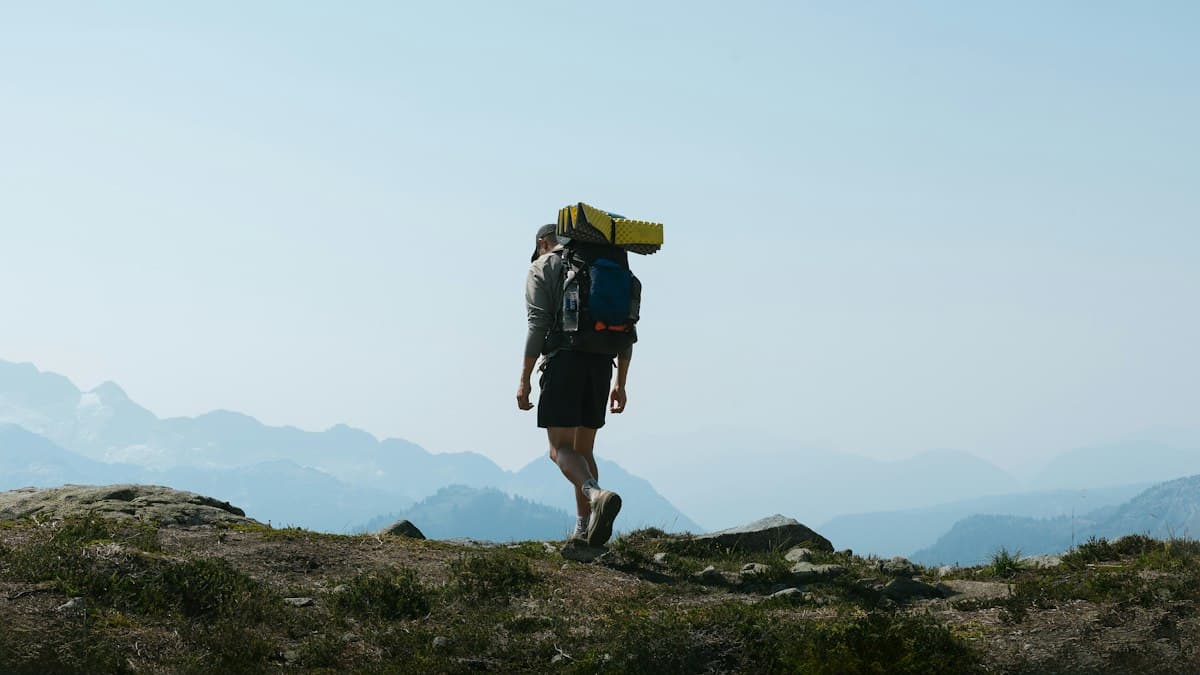
How to Properly Fit Your Hiking Backpack: The Adjustment That Changes Everything
You come back from a hike with burning shoulders, a knot in your lower back, or tight trapezius muscles? Your pack might be too heavy — but it's far more likely that it's incorrectly adjusted.
Almost no one fits their hiking pack in the right order. You pull the shoulder straps because they're right there, within reach, and you set off. Result: the hip belt floats in midair, the load lifters pull in the wrong direction, and the sternum strap compresses where it shouldn't. The pack feels two kilos heavier than it should.
This guide gives you the six-step method in the correct order. Five minutes the first time, thirty seconds after that — and kilometres of added comfort.
Why Adjustment Order Matters
A hiking backpack is a weight-transfer system: its job is to shift 70 to 80% of the load onto your hips, not your shoulders. Your shoulders guide and stabilise. If you tighten the shoulder straps first, your shoulders bear all the weight from the start and no other adjustment can correct that.
The fitting sequence follows a bottom-to-top logic: first anchor the main support point (hip belt on the pelvis), then adjust what stems from that anchor (shoulder straps), then fine-tune the secondary connections (load lifters, sternum strap).
Before going further, make sure you're using a pack with a proper structured hip belt — a 30–40 L hiking backpack with a padded hip belt is the minimum for proper weight transfer, regardless of how carefully you adjust it.
Step 1: Load Your Pack Correctly
Fitting begins before you even put the pack on. How you load it determines how it carries.
The zone rule:
- Bottom of the pack (furthest from your back): light gear you won't need during the day — spare clothes, sleeping bag.
- Central zone, against your back: heavy items — water, food, cooking gear. These should stay as close as possible to your centre of gravity, ideally between your shoulder blades and your hip belt.
- Top section: mid-day items — windshell, map, snacks.
- Side pockets: water bottle and snacks you can reach without taking the pack off.
A badly loaded pack — heavy at the bottom, light against your back — creates a pendulum effect that shifts your centre of gravity rearward. You compensate by leaning your torso forward, and your back pays the price.
Step 2: Hip Belt on the Iliac Crests
This is the foundational adjustment. Put the pack on, fully loosen the shoulder straps, load lifters, and sternum strap.
Position the hip belt so its padding sits exactly on your iliac crests — the bony protrusions you can feel on either side of your pelvis. The belt should cover those bones, not float above them, not sink below them onto your abdomen.
Tighten until you feel firm support, without compression. Your hips must move freely while walking — the belt accompanies the movement, it doesn't lock it.
If the hip belt padding is too thin or rigid to be comfortable, there are universal padded hip belts that fit most packs and dramatically improve carrying comfort.
Step 3: Shoulder Straps Without Crushing
Once the hip belt is in place, adjust the shoulder straps. They should follow the curves of your shoulders without crushing them or pulling away.
The rule: slide two fingers under the strap at collarbone level. If you can't, it's too tight. If you can fit four, it's too loose.
The point where the straps originate on the back panel should be two to three centimetres below your shoulders — no lower. If the straps start much lower, the pack is too large for you; if they start at shoulder level or above, it's too small.
Don't tighten the shoulder straps to compensate for a wrong-sized pack. You'll only increase tension in your neck and trapezius muscles.
For long outings, extra shoulder strap padding can make a noticeable difference on routes longer than 15 km with a load.
Step 4: Load Lifters at 45 Degrees
Load lifters are those small straps running from the top of the shoulder straps to the top of the pack. Most hikers ignore them entirely — that's a mistake.
Their role: restore the pack's vertical alignment by pulling the weight toward you and upward, preventing the pack from falling backward.
The ideal angle is 45 degrees between the strap and the shoulder strap. Too horizontal (flat), and they tend to lift the top of the shoulder straps away from your shoulders. Too vertical, they hoist the pack and create uncomfortable tension at the back of your neck.
Tighten both load lifters gradually and simultaneously until you reach that angle. You'll feel the top of the pack draw closer to your shoulders — that's exactly the effect you want.
Step 5: Sternum Strap
The sternum strap is the most misunderstood adjustment. It doesn't carry weight — it stabilises the shoulder straps laterally to stop them from sliding outward as you move.
Position it at sternum height, not at throat level. It should remain slightly loose — just tight enough to limit strap swing on descents or rough terrain.
If you tighten it hard to compensate for a poorly fitted pack, you'll compress your chest and reduce breathing capacity. This is a common error that causes faster fatigue for no reason.
Good-quality universal sternum straps let you replace a worn strap or add one to a pack that didn't come with one.
Correcting While Walking
The perfect fit happens in motion, not standing still. The first five minutes of walking are your window for fine-tuning.
Signs to watch for:
- Pain below the shoulder blades → shoulder straps too loose or load lifters not tight enough. The pack is hanging backward.
- Shoulder pressure from the first steps → the hip belt isn't carrying enough. Tighten it slightly.
- Pack swaying side to side → sternum strap too loose, or the load is unbalanced.
- Numb hands → shoulder straps are compressing a nerve. Loosen slightly and reposition.
- Chafing at hip level → the belt isn't sitting on the iliac crests. Re-adjust its height.
Make it a habit to do a quick check at each break: half a turn of a strap is often enough to correct a building discomfort before it becomes debilitating.
Accessories That Improve Comfort
A well-adjusted quality hiking pack is the foundation, but a few accessories round out the picture.
A hip protection pad is useful if your hip belt creates pressure points despite good adjustment — common with entry-level packs or unusual body shapes.
A waterproof pack cover is essential for mountain outings where storms can arrive without warning. A pack that's taken on water weighs significantly more — and the heavier it gets, the more fitting matters.
Going Further
Good adjustment doesn't replace the right pack. If you're still deciding on volume or model, our guide Choosing Your Hiking Backpack covers every criterion by practice type. And if you're specifically looking for a daypack, our 30-40 L daypack comparison details five representative models with their strengths and limitations.
The best pack is the one you forget you're wearing. With the right adjustments in the right order, you can reach that goal with almost any decent-quality pack — and turn a day of suffering into a day of pure enjoyment.
As an Amazon Associate, we earn from qualifying purchases. Links marked with an external icon are affiliate links.
Related reading

Best 30-40L Daypacks for Hiking: 5 Models Compared
Which 30 to 40-litre daypack should you choose for hiking? Carrying comfort, ventilation, access, and weight: 5 models compared to find your ideal companion.
How to Care for Your Hiking Boots: The Complete Guide
Cleaning, drying, waterproofing, leather conditioning: everything you need to know to maintain your hiking boots and make them last for years.
The Best Sleeping Bags for Bivouacking: Complete 2026 Guide
How to choose the best sleeping bag for bivouac hiking? Down vs synthetic, comfort temperature, weight — our complete selection for sleeping under the stars.