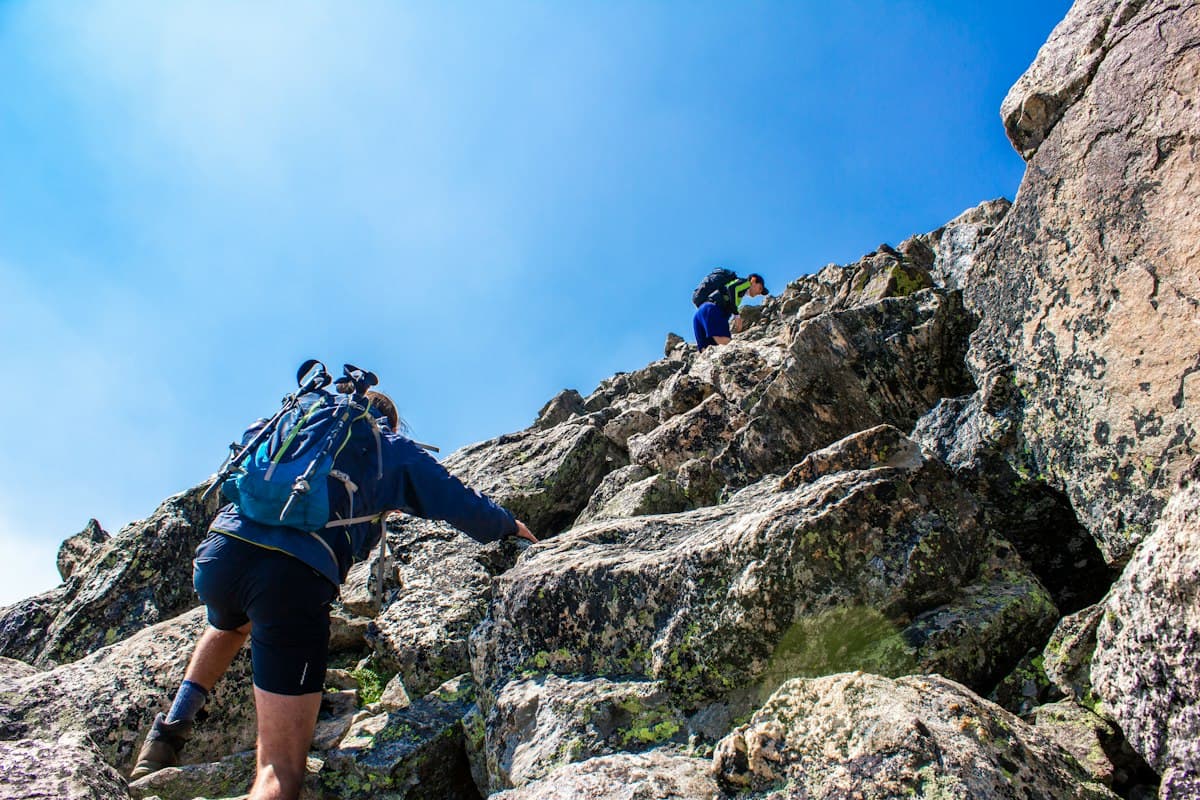
Finding Your Pace: Cardio and Effort Management in Hiking
Every hiker has been there: you set off with boundless energy, pass a few other groups in the first few minutes, and twenty minutes later you're slumped on a rock, legs burning, gasping for air. The problem isn't lack of fitness — it's the wrong pace.
Managing effort in hiking is a skill you can learn. It requires no heart rate monitor, no GPS watch, no app. It mainly requires learning to listen to your body — and overriding a few natural instincts that push us to start too fast.
The Fast-Start Mistake
The beginning of a hike is deceptive. The terrain is often still flat, enthusiasm is at its peak, and your muscles are fresh. The result: you overestimate your capacity and start at a pace you won't be able to sustain.
This has a name in physiology: the positive start phenomenon. Your muscles burn through easily available glycogen stores in the first few minutes, creating a false sense of lightness. Once those reserves are depleted, fatigue hits suddenly — what runners call "hitting the wall."
In hiking, this wall doesn't arrive as abruptly as in running, but its effects are just as real: quad soreness, persistent breathlessness, low morale, and in severe cases, a forced stop.
The golden rule: the first twenty minutes of any outing should always be at a pace that feels too slow. Your body will warm up properly, blood circulation will adjust, and you'll have energy left for the technical sections.
The Talk Test
How do you know if you're at the right pace without any equipment? The answer fits in one sentence: you should be able to hold a normal conversation without being out of breath.
This is what physiologists call the aerobic threshold — the effort zone where your body primarily burns fat for fuel, an almost inexhaustible source. Below this threshold, you're in active recovery. Above it, you start drawing on glycogen reserves, which are limited.
The practical test is simple:
- You can talk freely: pace is too comfortable; you can speed up slightly.
- You can speak in short phrases without being at your limit: you're in the right zone.
- You can't speak without stopping to breathe: slow down immediately.
This test works regardless of your fitness level, because the aerobic threshold is personal. An experienced hiker may maintain it at a brisk pace; a beginner might find it earlier. What matters is staying in that zone, not matching anyone else's speed.
Effort Zones Without a Heart Rate Monitor
If you want to understand your effort more deeply, here's a simple grid based on physical sensations:
Zone 1 — Active Recovery
Feeling: Very comfortable; you could easily continue for hours. Use: Warm-up, active rest during breaks, cool-down after a climb.
Zone 2 — Base Endurance
Feeling: Comfortable, conversation easy, breathing regular. Use: This is your target pace for 80% of your outing. It lets you cover long distances without exhausting yourself.
Zone 3 — Moderate Tempo
Feeling: Slightly uncomfortable, short sentences, you "feel" the effort. Use: Acceptable for short climbs or near the end of a hike. Should not last for hours.
Zone 4 — Intense Effort
Feeling: Hard, impossible to speak, muscles burning. Use: Avoid except for very short, isolated bursts.
Most recreational hikers spend too much time in Zones 3–4 at the start, exhaust themselves early, then shuffle along in Zones 1–2 for the rest of the route. The ideal is exactly the opposite: stay sensibly in Zone 2 from the start to finish with energy still in reserve.
A Steady Climbing Rhythm
Elevation gain is the true test of effort management. Many hikers attack climbs head-on, as if going fast on the way up makes up for going slowly afterward. It's a losing strategy.
On a climb, your heart rate naturally rises — that's unavoidable. The goal isn't to prevent it but to let it rise gradually and keep it at a level you can manage.
A few principles for uphills:
Shorten your steps. On descents, longer steps absorb impact. On climbs, they're exhausting. Prefer short, frequent steps — more mechanically efficient and lower energy cost.
Keep your back upright. Leaning your torso forward relieves your quads but compresses your lungs, reducing breathing capacity. Stay as upright as possible, using your trekking poles for support if you have them.
Breathe through your nose. Instinct on a climb is to mouth-breathe heavily. But nose breathing filters, humidifies and warms the air, reducing cardiorespiratory effort. If you can't manage it anymore, that's your signal to slow down.
Don't stare at the summit. Fixing on a distant goal is psychologically draining. Break the climb into short segments ("to that rock," "to that bend") and mentally celebrate each small milestone.
If you're planning a hike with significant elevation, browse routes on OpenRando filtered by difficulty and elevation gain. For a deeper look at calculating gradient and route difficulty, see our guide: how to calculate elevation and hiking difficulty.
Managing Breaks: Short and Frequent
Break management is underestimated. Many hikers take infrequent long stops rather than frequent short ones. Yet sports science suggests the opposite is more effective.
5- to 10-minute breaks every 45 to 60 minutes of walking give your body time to reset without letting your muscles cool down. A 30-minute break, on the other hand, lets muscles "seize up" — you restart with heavy legs, almost like beginning the hike fresh.
During short breaks:
- Drink water (even if not thirsty), at least 150–200 ml.
- Eat a quick-digesting snack if the outing exceeds 2 hours.
- Gently stretch your calves and hip flexors.
- Loosen your laces if your feet swell in the heat.
Technical hiking socks can also significantly reduce friction on long outings.
Descending Without Destroying Your Quads
Descent is often overlooked in effort management advice, yet it places considerable muscle stress — sometimes more than the climb. Going uphill, your muscles contract concentrically (shortening while producing force). Coming downhill, they work eccentrically (lengthening under load to brake your descent) — a far more traumatic mode for muscle fibers.
That's why next-day soreness often hits the thighs, not the calves: your quadriceps absorbed the impact on the way down.
To descend smartly:
Bend your knees. Descending with straight legs transfers impact into joints. A 20–30° bend naturally cushions each step.
Use trekking poles. On descents, poles distribute some body weight through your arms, reducing knee load by 20–25% according to some studies.
Plant your foot flat or heel-first. On slippery terrain, planting the toe first raises the risk of slipping. The heel provides better grip and activates a chain of stabilizing muscles.
Slow your pace. Rushing a descent saves very little overall time but multiplies micro-trauma. Descend at a pace where you control every step.
If you're prone to knee pain on descents, consider hiking knee supports. They provide lateral stability without restricting mobility.
In Summary: The "Three Toos" Rule
Remembering effort management principles is easy if you avoid the "three toos":
- Too fast at the start: always begin below your natural pace.
- Too hard on the climbs: stay in the zone where you can talk.
- Too long without a break: use short, frequent stops.
These adjustments seem minor, but their impact on your enjoyment and recovery is significant. A hiker who finishes with a little energy left has managed their effort well. One who staggers to the car swearing never to do it again has something to adjust.
If you're returning after a long break from hiking, read our guide on getting back into hiking after a pause for a gradual restart.
Happy trails — and steady pacing.
As an Amazon Associate, we earn from qualifying purchases. Links marked with an external icon are affiliate links.
Related reading
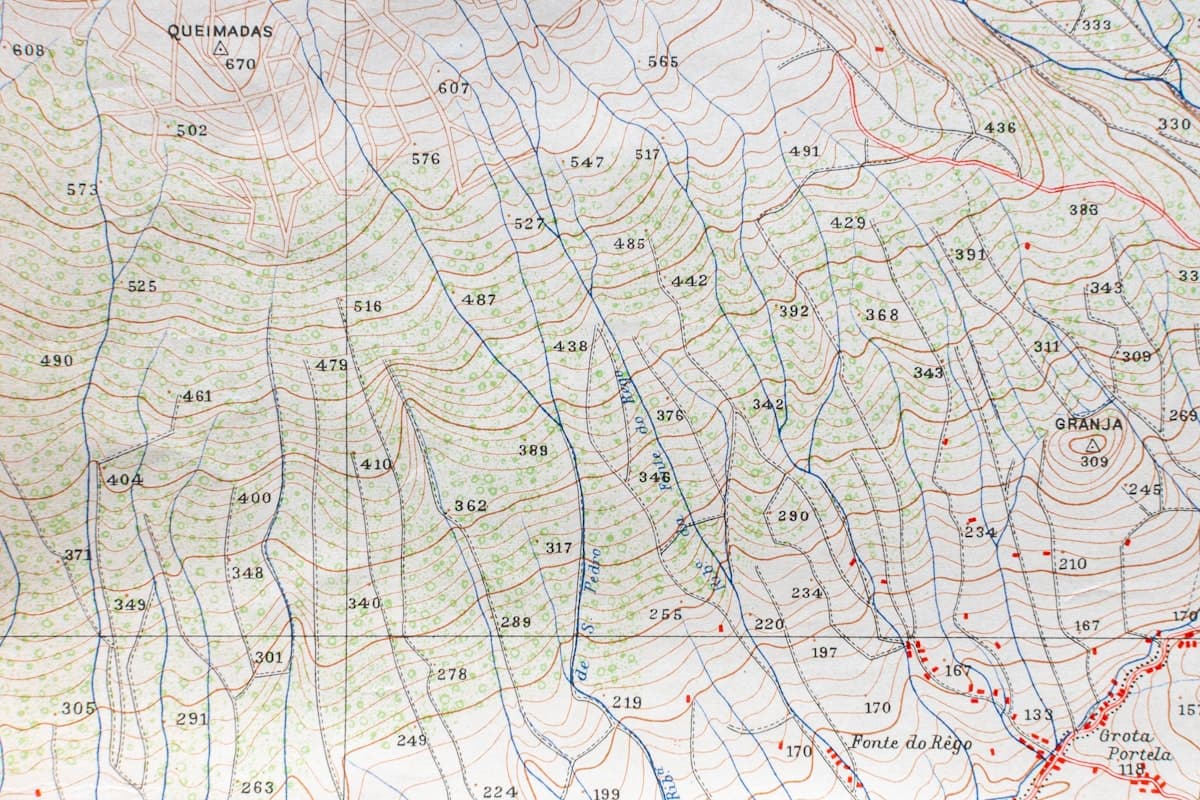
How to Read an Elevation Profile and Plan Your Hiking Effort
Learn to read an elevation profile to accurately estimate a hike's real difficulty: average gradients, slope breaks, and calculating hiking time with Naismith's Rule.
Hiking During Hunting Season: How to Stay Safe in Autumn
How to hike safely during hunting season in France: know the hunting dates by region, how to spot an active drive hunt, how to stay visible, and what to do if you encounter a battue.
The Best Hikes in the Vosges Mountains
Eight hikes in the Vosges: summits, glacial lakes, highland meadows and ridge trails, through France's most spectacular autumn beech forests.