Walking on frozen and icy ground: techniques and foot placement
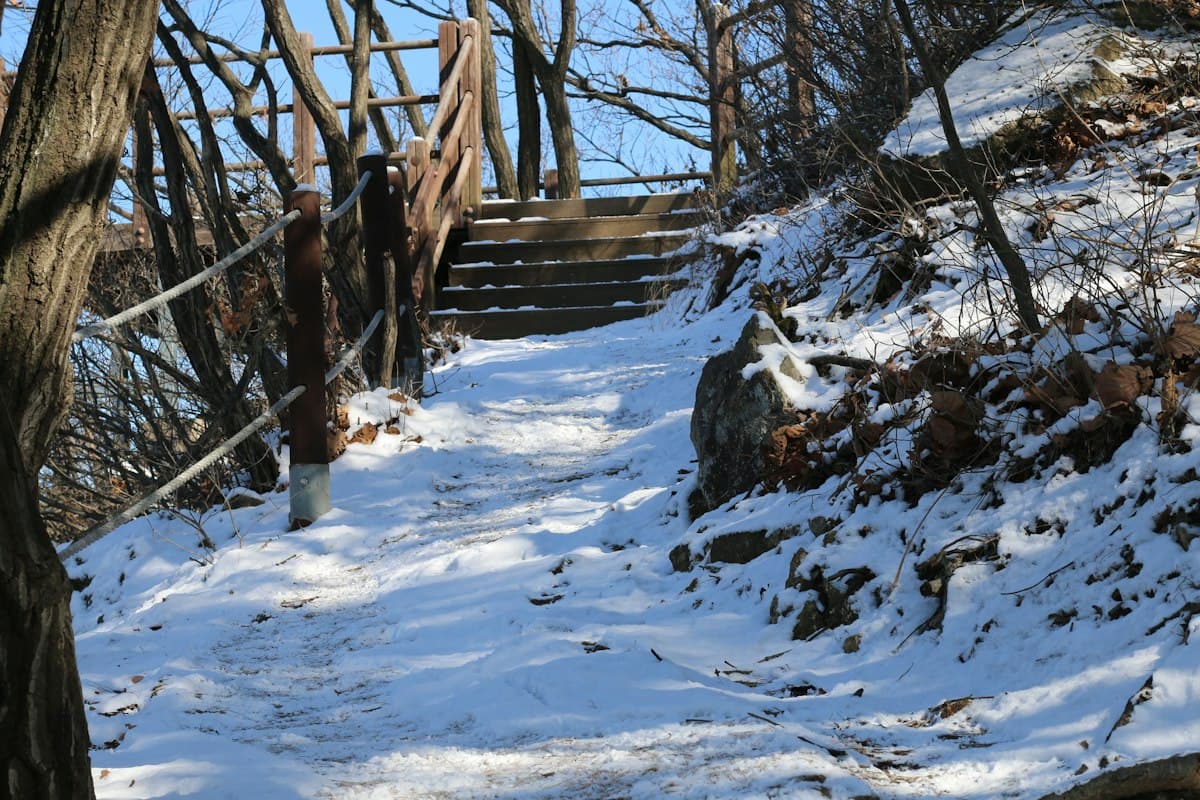
November ice is more dangerous than January snow. In January, you know you are in winter: you carry the right gear, you are mentally prepared, and you have adapted your route. In November, you set off in your autumn hiking boots along a trail you know well — and at 1,400 m, on the north face of a pass, the trail is no longer the same. It is glazed with ice. And the resulting fall is not just an anecdote.
This guide covers a specific skill: how to walk effectively on frozen, icy or hardened snow-covered ground. This is not a general introduction to winter mountain safety — that is covered in a broader article on hiking in November. Here we focus on foot placement technique, pole use and equipment decisions.
Where ice forms first
Before learning how to walk on ice, you need to know where to find it. Ice does not spread evenly across a trail. It concentrates at specific, often predictable, locations.
North-facing slopes and shaded areas are the first to freeze. A south-facing slope can be dry and passable at 11 a.m. while its north-facing counterpart stays frozen all day. In November and December, the sun is too low to warm these aspects.
Stream crossings and wet zones freeze as soon as overnight temperatures drop below 0°C. A stream crossing the path, a seep running down a cliff face, a drainage zone — all of these become ice patches. The surrounding ground looks exposed and safe, creating a false sense of security.
The edges of snowfields are particularly treacherous. Fresh snow stays relatively stable; compacted and refrozen snow hardens until it becomes almost as slippery as pure ice. And the edge of a snowfield, where snow meets exposed ground, concentrates meltwater that refreezes overnight.
Exposed ridges and cols may look dry but accumulate rime ice (a thin coating of frost that forms on rocks and vegetation), creating an invisible layer of ice over the stones.
When planning a route with potentially frozen sections, mentally identify these configurations before setting out. A topo map with aspect and elevation information can help you anticipate critical sections.
Flat-footing and weight transfer
The main mistake on icy ground is continuing to walk as you would on a normal trail. On earth or dry rock, you strike the ground with your heel, roll through the foot and push off the toe. This is efficient and economical on a grippy surface. On ice, this movement is disastrous: the heel strikes at an angle, the sole slips, and you lose your balance.
The fundamental technique on frozen ground is flat-footing. The whole sole must contact the ground simultaneously — not heel first, not toe first. The idea is to maximise contact area and direct your weight vertically onto the ice rather than applying a horizontal force that promotes slipping.
In practice:
- Shorten your steps. Shorter strides give more control.
- Bend your knees slightly to lower your centre of gravity.
- Place your foot flat, without a heel strike.
- Check stability before transferring your full weight.
- On a downhill icy slope, lean your upper body slightly forward — counterintuitive, but it prevents you from tipping backwards.
Weight transfer must be gradual. Never immediately shift 100% of your weight onto your leading foot. Keep some support on the rear foot for a fraction of a second, test the grip, then transfer. On a genuinely unstable surface, every step is a mini-test before the next one.
On horizontal traverses across a slope (diagonal movement), turn your feet slightly uphill to maximise sole contact with the terrain.
Poles: baskets and tips
Trekking poles make a real difference on frozen ground — provided they are properly equipped. Two elements are critical: the baskets and the tips.
Summer baskets (small discs a few centimetres in diameter) are useless in snow and barely effective on ice. For winter use, fit winter baskets, which are wider and sit on top of the snow without sinking, giving better lateral anchorage on ice. If you cannot change the baskets, the poles still help but with significant limitations.
Tungsten carbide tips grip well on ice. Rubber tip protectors, used on hard city surfaces, slip on ice and must be removed before any outing on frozen terrain. Check your tips before you leave.
Pole technique on icy ground:
- Shorten your poles slightly compared to your usual adjustment (5 to 10 cm) to make forward planting easier.
- Plant the poles forward and to the side, not directly behind you.
- Lean on them during the unstable phase of each step, then ease off when your footing is secure.
- On a steep icy descent, you can hold both poles together on the uphill side for a tripod-style support — one foot, one foot, two poles planted side by side.
Poles do not replace crampons on hard snow. They complement your gear and reduce the load on each foot during each placement, but on a genuinely steep frozen slope they cannot prevent a slip if your foot gives way.
When to put on lightweight crampons
This is the key question. Putting on crampons too early is inconvenient but harmless. Waiting too long can have serious consequences.
Put on your lightweight crampons (microspikes, chain crampons or 6/8-point crampons) as soon as:
- The surface is covered in a continuous layer of ice or compacted refrozen snow
- The slope exceeds 15° on a frozen surface
- You have slipped even once, however slightly
- The return route passes through the same section and temperatures are still dropping
Do not remove them too early: if you needed crampons on the ascent, you will very likely need them on the descent of the same section — and conditions will have hardened further in the meantime.
Lightweight crampons are not suitable for everything: they work on compacted snow, flat ice and moderately steep snowfields. On steep pure ice or very steep snowfields (beyond 35–40°), you need 10 or 12-point crampons with an ice axe. If you do not have the appropriate gear for that level, turning back is the right call.
Gaiters complete your winter kit: they prevent snow and ice from working into your boots during snowfield crossings.
Choose hiking boots with a rigid sole and waterproof lining: a flexible sole deforms around crampon spikes and reduces their effectiveness. Light trail-running shoes are not appropriate.
The descent: the most exposed moment
Statistically, accidents on frozen terrain happen more often on the descent than on the ascent. Several reasons explain this:
Fatigue: you have expended energy going up. On the way down, muscles are less precise and reflexes are slightly slower.
Psychology: you crossed the section on the way up — it feels less dangerous than it is. You relax your vigilance.
Physics: on a descent, the centre of gravity shifts more easily backward, moving weight onto the heels. On ice, that is exactly what you want to avoid.
How to descend an icy slope:
- Keep your weight slightly forward, knees bent.
- Traverse diagonally if the slope is steep — never face straight down the fall line.
- On a very steep icy slope without adequate crampons, descend backwards using your hands and feet as contact points: it is slow, awkward, and perfectly acceptable.
- Use the poles forward and on the uphill side to brake.
- On a hard snowfield, never slide deliberately: without an ice axe, you have no way of stopping an uncontrolled slide.
If you are with a group, do not all descend a tricky section at the same time. One person at a time, with the others in a stable position, so that a slip does not trigger a chain reaction.
What should trigger a turnaround
Turning back is not failure. It is a skill. And on frozen terrain, the signals to turn around are often clear — if you are willing to read them.
Turn back if:
- Ice is present on a slope you cannot secure with your current gear.
- You slipped and could not stop yourself unaided.
- Visibility has dropped to the point where you can no longer read the terrain ahead.
- Wind chill is numbing your hands despite gloves.
- Time is passing and temperatures are still falling — meaning the return section will be more frozen than the outbound one.
- You genuinely hesitate: hesitation on frozen terrain is a signal, not a weakness.
Come back with the right gear. The same trails, with appropriate crampons and sufficient daylight, can offer outstanding outings even in November or December. Frozen terrain is not a permanent obstacle — it is a challenge that requires precise preparation.
Before heading out in November, read our complete guide on hiking in November to prepare for the broader changes of the season beyond ice: short days, closed refuges and saturated trails at lower elevations. Full preparation is part of the technique.
As an Amazon Associate, we earn from qualifying purchases. Links marked with an external icon are affiliate links.
Related reading
Hiking in November: What Really Changes
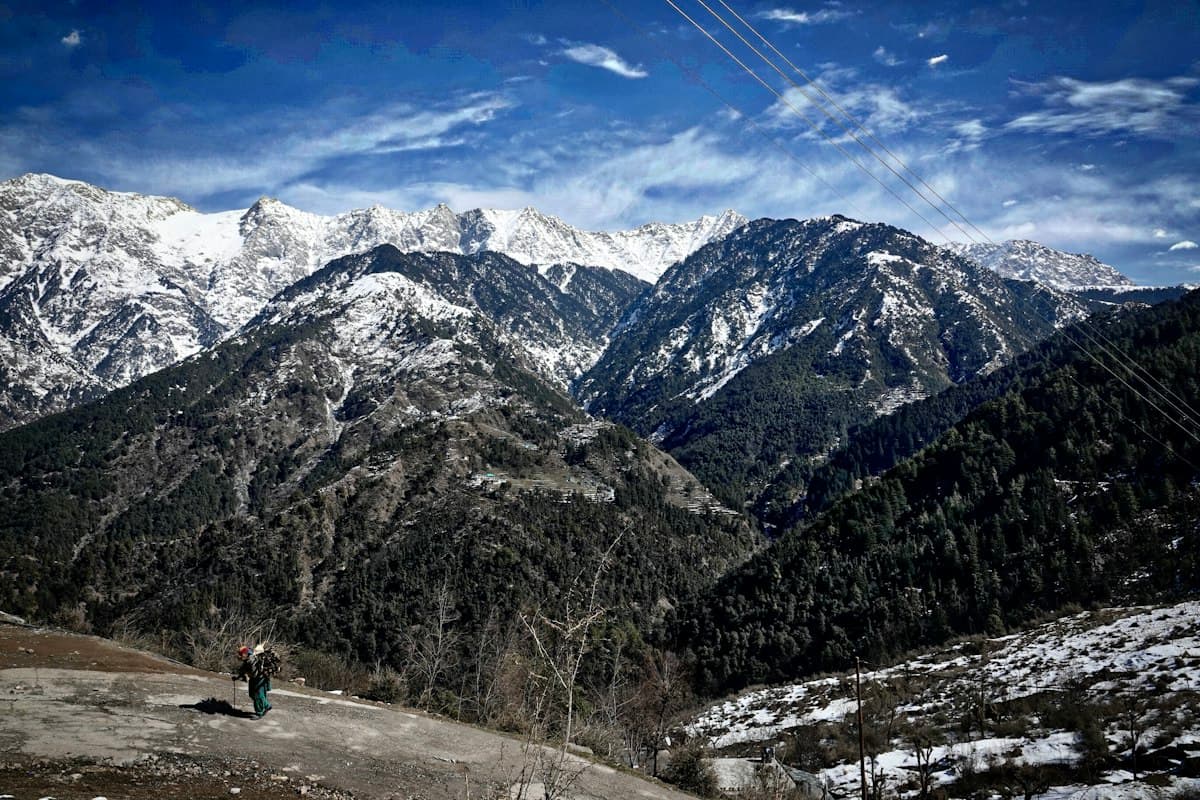
Hiking in November: first snow at altitude, refuge closures, short days and waterlogged trails. What changes and how to adapt.
Finding Your Pace: Cardio and Effort Management in Hiking
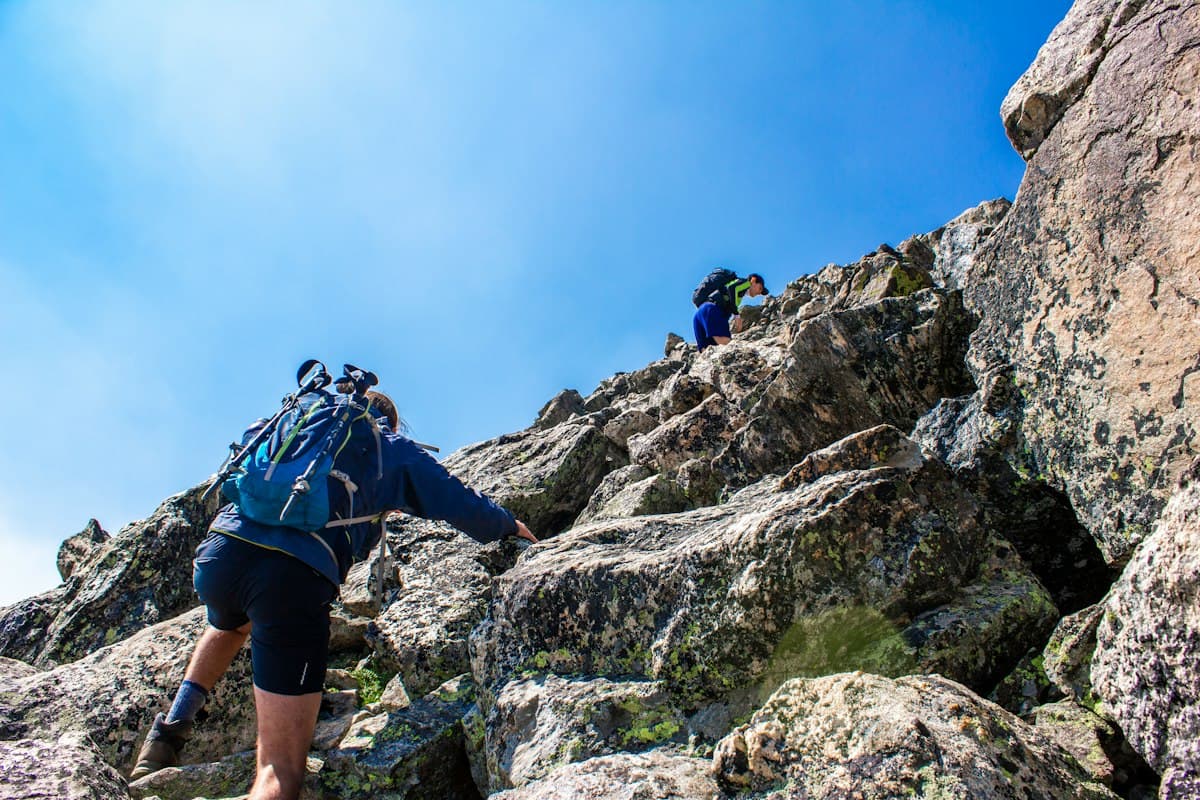
How to find the right hiking pace: the talk test, managing cardio on climbs, and why starting slow means finishing faster.
Hiking in the Verdon Gorge in Winter: 7 Routes to Discover the Canyon Off Season
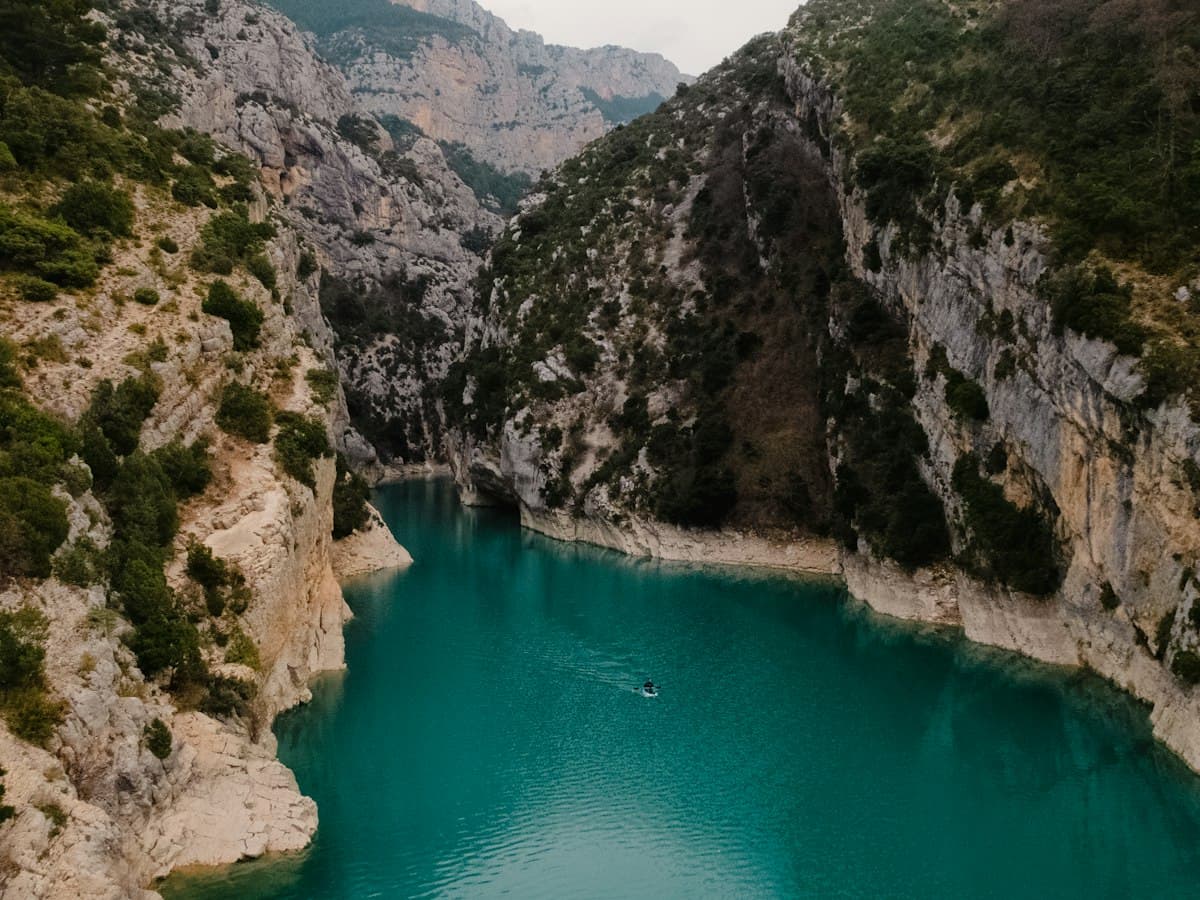
Seven hikes in the Verdon Gorge in winter: deserted trails, turquoise water, and raking light far from the summer crowds.