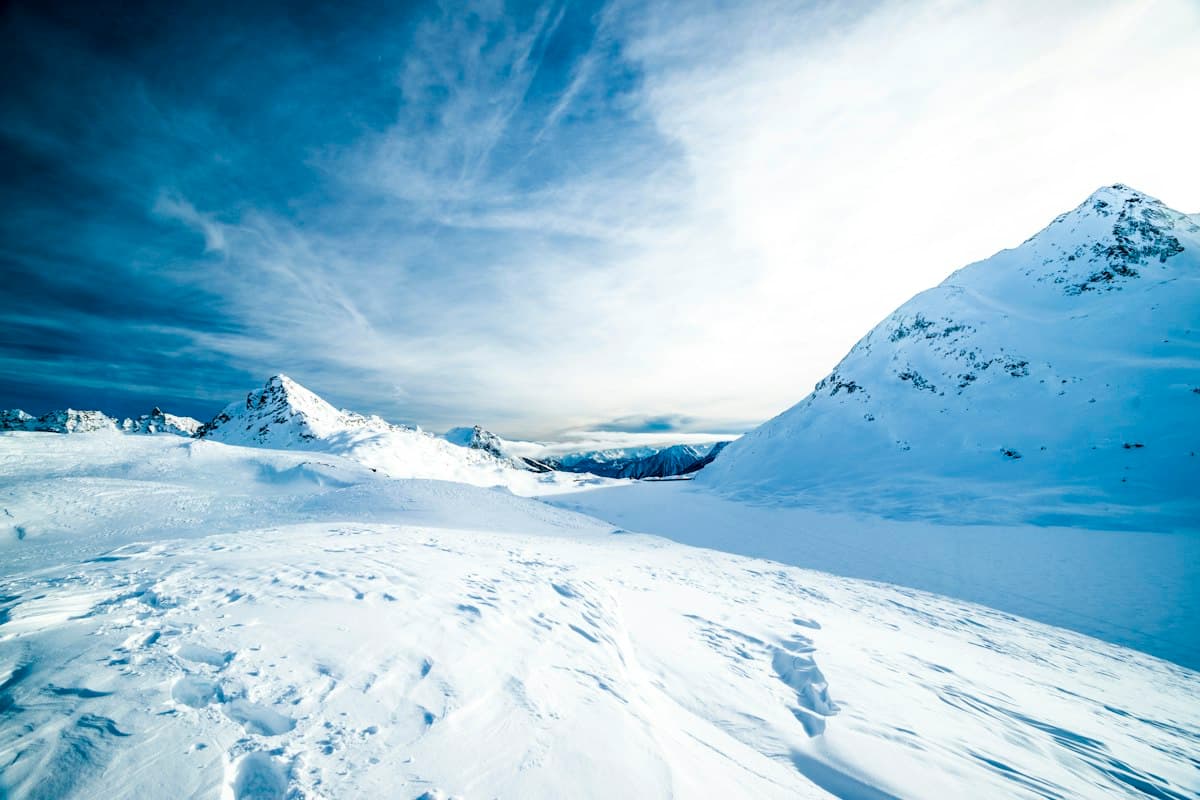
Avalanche Safety Basics for Hikers
Every winter, experienced hikers are caught in avalanches on slopes they thought they knew. Not through ignorance of the danger — most knew it existed. It's because they underestimated how unpredictable avalanche terrain is, and overestimated their ability to "manage" that risk without specific training.
This article covers the fundamentals. It won't teach you how to travel safely in avalanche terrain — only a course with professionals can do that. It will help you understand why you should, most of the time, avoid it entirely.
1. The European 1-to-5 Scale, and What It Doesn't Tell You
The European avalanche danger scale has five levels:
- 1 — Low: the snowpack is generally stable. Triggering is unlikely except on very steep terrain with fresh snow.
- 2 — Limited: the snowpack is moderately stable. Triggering is possible on steep slopes (> 35°) with significant loading.
- 3 — Considerable: this is the most statistically deadly level. The risk is "moderate," but most fatal accidents happen at this level precisely because it seems manageable.
- 4 — High: frequent natural releases are expected. Off-piste outings are strongly discouraged.
- 5 — Very High: exceptional situations, reserved for major events. Rare but spectacular.
What the scale doesn't tell you is where the risk is concentrated. A "considerable" level 3 may apply only to east-facing slopes above 2,000 m — or to the entire mountain range. The bulletin spells this out in its text section, but many hikers only read the number. That's a mistake.
Key takeaway: level 3 is not "moderate" for an untrained hiker. It means human triggering is likely on steep slopes. If your route crosses a steep slope, re-plan it.
For a full checklist on preparing your winter outing, see our complete guide on preparing a winter hike.
2. The 30-Degree Slope: The Critical Threshold
The vast majority of fatal avalanches release on slopes between 30 and 45 degrees. Below 30°, snow generally holds; above 45°, it continuously purges and doesn't accumulate enough to form dangerous slabs.
The problem: 30 degrees is much steeper than most people imagine. A blue ski run rarely exceeds 15°. A red run stays below 25°. Slopes between 30° and 40° are exactly the ones winter hikers regularly cross to reach passes or ridges.
How to estimate slope without a clinometer
Practical benchmarks:
- 25°: you lean forward when walking, hands occasionally touch the ground.
- 30°: descending on foot without poles requires real concentration. An uncontrolled fall is hard to arrest.
- 35°: crampons are needed on hard snow. An uncontrolled slide is potentially fatal without an ice axe.
Apps like Google Earth allow you to visualize slope profiles in advance. Some navigation apps include slope-angle overlays. But field measurement remains the most reliable — and interpreting it correctly takes practice.
3. Reading an Avalanche Forecast Bulletin
The avalanche risk bulletin is published each morning by Météo-France for each metropolitan massif, and equivalent services exist across Alpine countries. It is available free of charge and in several apps.
A complete bulletin includes:
- The danger level (1 to 5) and the time windows it applies to
- Aspects and elevations: "considerable risk on east and north-facing slopes above 2,000 m" — these geographic details are essential
- Snowpack description: recent snow, refreezing crust, cold aspect, warm aspect — each term describes a different snow profile with different triggering implications
- Forecast trend: risk can increase during the day, especially during warming or ongoing precipitation
What to read first
- Exposed aspects: does your route cross the aspects mentioned?
- Risk elevation: is your pass above or below the stated threshold?
- Trend: a bulletin issued at 7 a.m. doesn't reflect what will happen at 3 p.m. if a warm spell is forecast.
Always cross-check the bulletin with hourly weather forecasts. A stable level 3 in calm, cold conditions is not the same as a level 3 with strong winds and snowfall expected in the afternoon.
4. Recognizing Terrain to Avoid
Even if you're fluent with the bulletin, identifying avalanche terrain in the field is a skill you build through practice. Here are the most visible warning signs:
Signs of recent activity
- Recent fracture lines in the snow: visible rupture lines on slopes, evidence that slabs have already released — often within the past hours or days
- Debris cones at the base of gullies: compacted snow piled at the foot of slopes
- "Whumpf" sounds: hollow cracks underfoot as your boots or crampons compress the snowpack — a strong, immediate warning sign
Structurally risky terrain
- Convex rolls (slopes that abruptly steepen downward): these concentrate stress in the snowpack
- Areas below cornices: a cornice can break off and trigger a slab on the slope beneath it
- Enclosed gullies: even if the main slope is < 30°, lateral walls can send snow onto your route
The simplest terrain rule
If you cannot see and evaluate an entire slope before crossing it, don't cross it. Entering dense vegetation, a gully, or a zone below cliffs hides lateral risks.
For winter hikes in the Pyrenees, where the relief amplifies these risks, see our selection of the best winter hikes in the Pyrenees with exposure information by sector.
5. Beacon, Shovel, Probe: Why Gear Alone Isn't Enough
The beacon-shovel-probe kit is the standard answer to avalanche risk in mountain terrain. It's essential. But it doesn't protect you — it increases your survival chances if you're buried.
What these tools do
- The avalanche beacon (also called a transceiver or DVA) continuously transmits a radio signal. In search mode, it guides rescuers to the buried victim. Full 3D localization can take 2 to 10 minutes depending on operator skill.
- The probe pinpoints the exact burial depth before digging.
- The shovel clears the snow. Without one, digging by hand in compacted debris takes two to three times as long.
What these tools don't do
The beacon won't tell you if a slope is safe. The shovel won't stabilize the snowpack. The probe won't protect you from a releasing slab.
Most importantly: effective beacon search requires regular practice. The search algorithm on a modern three-antenna beacon is subtle. Under the stress of a real search, errors are common among untrained users. Most specialists recommend practicing at least once per season.
Buying the gear without training is like installing a seatbelt without learning to drive.
complete avalanche safety kit (beacon + shovel + probe)6. Getting Trained: Organizations and Courses
The only way to develop the skills needed to travel in avalanche terrain is to take a course with certified professionals.
Training options
Avalanche awareness courses run by national mountain sports associations (in France: FFME, FFCAM, FFS) cover bulletin reading, terrain recognition, and beacon search techniques. Level 1 courses are open to all.
ANENA (France's national association for snow and avalanche study) offers a wide range of courses for the general public and professionals, from one-day sessions to week-long intensives.
IFMGA mountain guides offer private or small-group instruction — the most effective option if you want to progress quickly with personalized guidance.
Alpine clubs often run free or low-cost winter awareness sessions and guided outings for members.
Before formal training: free resources
- Avalanche.org and collaborative field observation platforms for real-time reports
- Accident review reports published by avalanche safety organizations: reading actual accident circumstances is instructive
- Avalanche safety training videos from organizations like Recco, ANENA, or Avalanche.ca explain triggering mechanisms clearly
What training doesn't replace
The decision to go out or stay home, and whether to cross a given slope, remains yours. Training gives you the tools to make an informed decision — it doesn't make the decision for you.
And even with training, a professional's first reflex when facing a level 3 risk on a recently loaded massif is often to change the route. Avoidance remains more effective than management.
Summary
Avalanche risk is not reserved for mountaineers or backcountry skiers. It affects any hiker who ventures onto a snowy slope in winter. Key takeaways:
- Level 3 (considerable) should prompt you to reconsider any route with slopes > 30°
- Read the full bulletin, not just the number — aspects and elevations matter
- Recognizing risky terrain is a learned skill, not common sense
- The beacon-shovel-probe kit is essential but doesn't protect you — it improves survival odds after burial
- Only training gives you the tools to travel in avalanche terrain with reasonable judgment
Winter mountains are magnificent. They are accessible — provided you accept that certain terrain is not accessible for everyone, at every time of year.
As an Amazon Associate, we earn from qualifying purchases. Links marked with an external icon are affiliate links.
Related reading
Snowshoe Comparison: The Complete Buying Guide
How to choose snowshoes: flotation based on total weight, binding systems, heel lifts and terrain types. Four TSL models compared from beginner to experienced hiker.
How to Prepare a Winter Hike
Preparing a winter outing: how to read an avalanche risk bulletin, calculate your time buffer, essential gear, and your fallback plan.
Winter Hiking Nutrition: Eating Smart in the Cold
How to fuel your winter hikes: increased calorie needs in the cold, foods that freeze, staying hydrated without feeling thirsty, and the power of hot drinks.