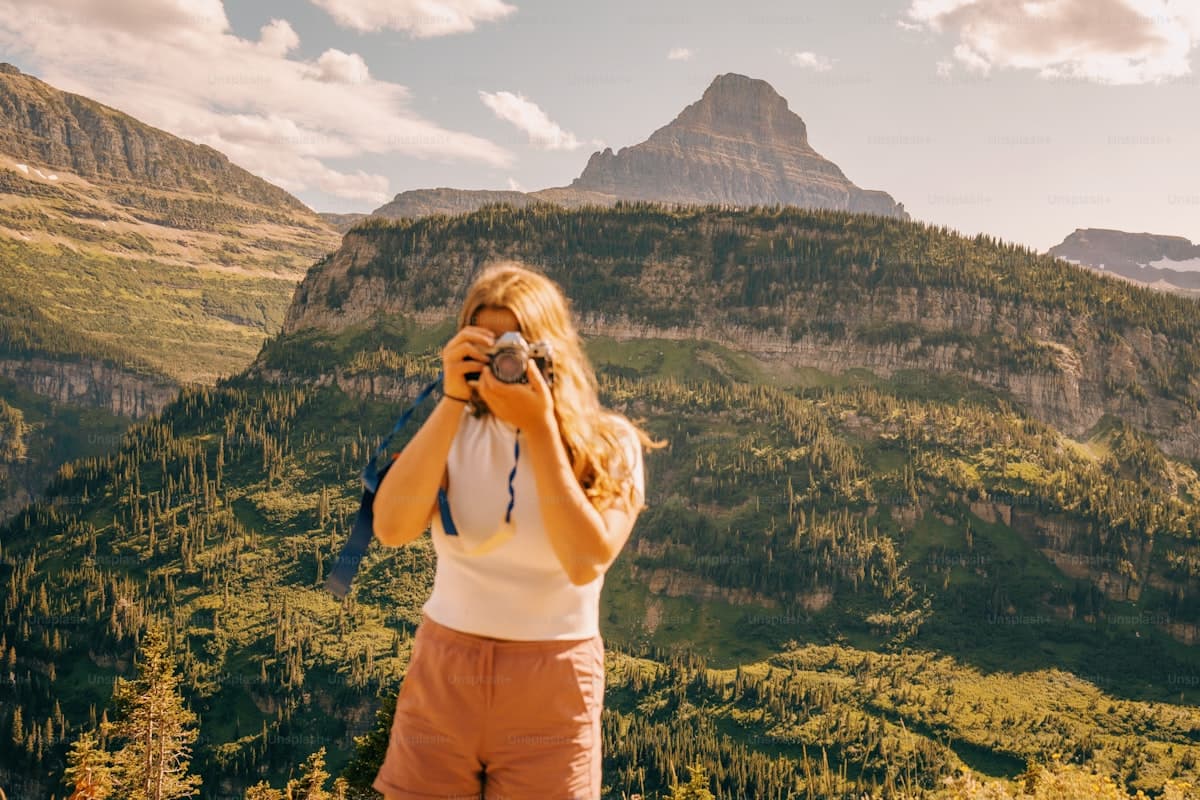
How to Take Great Photos While Hiking: Tips and Gear
Some moments on the trail deserve more than a blurry memory: that sunrise over a ridge, a mountain lake's perfect reflection, a curious marmot just two metres away. Hiking photography is the art of capturing those instants without sacrificing the joy of walking.
But photographing outdoors — with changing light, a pack on your back, and often challenging terrain — takes a little know-how. This guide gives you the tools to bring back great images from every outing, whatever your level or equipment.
Choosing Your Camera for Hiking
The best camera is the one you always carry. On the trail, that usually means weighing image quality against pack weight.
The Smartphone: Your Always-On Companion
For most hikers, the smartphone is the obvious choice. Always to hand, featherlight, and capable of remarkable images in good light. Modern phones' portrait, panoramic, and ultra-wide-angle modes cover most situations. The limitations: digital zoom degrades quickly, high-contrast skies can be hard to handle, and cold altitude air drains batteries fast.
The Compact or Bridge Camera: The Best Compromise
A rugged, weatherproof compact camera offers an excellent quality-to-weight ratio. Models like the Sony RX100 or Ricoh GR are beloved by hiker-photographers for their optical quality and small footprint. Some outdoor compacts are designed to resist shocks and moisture — a genuine advantage on the trail.
The Mirrorless Camera: Quality Without Compromise
If you want truly standout images, a lightweight mirrorless body with one or two versatile lenses is the choice of serious photographers. Sony Alpha, Fujifilm X-Series, and OM System bodies are popular for their comparative lightness against DSLRs. Expect around 500–700 g body plus lens — a manageable weight for a day's walking.
Which Lens to Bring?
If you're carrying a mirrorless or DSLR, limit yourself to one versatile lens. A 24-70mm or 18-55mm covers the essentials: wide landscapes, portraits, details. Swapping lenses on an exposed or windy ridge risks dust and drops. If wildlife is your thing, a compact telephoto may be worth the extra weight.
Mastering Light in the Mountains
Light is the primary subject of any photograph. On a hike it changes constantly — and that's exactly what makes outdoor photography so compelling.
Golden Hour: The Magic Light
The two hours after sunrise and the two hours before sunset are every photographer's favourite windows. The light is raking, warm, and sculpting. It reveals relief, adds texture to landscapes, and paints unforgettable colours into the sky.
To take advantage of it on a hike, plan ahead: check the sunrise time the evening before and schedule your departure accordingly. Starting at dawn also means beating the heat and the crowds in summer.
Midday: Managing Harsh Light
Between 10 am and 4 pm, overhead sun creates hard shadows and flattens landscapes. A few tactics to work around it:
- Seek shaded scenes: forests, gorges, north-facing slopes
- Use clouds as a natural diffuser — an overcast sky gives beautiful soft light for portraits
- Focus on details and textures: lichen on rock, alpine flowers, water reflections
- It's a great time for still water: lakes and rivers reflect the sky with fewer distracting sparkles than under golden light
Shooting Into the Sun
Backlighting is risky but spectacular. Activate your camera's HDR mode, or expose for the sky and let your subject become a silhouette. A hiker's silhouette on a ridge at sunset is one of the most powerful images you can bring back from any outing.
Composition: Golden Rules for Landscape Photography
Beautiful light on a poorly composed photo is still a disappointing photo. A few simple rules change everything.
The Rule of Thirds
Mentally divide your frame into nine equal parts (3 × 3). Place your main subject or horizon along one of the dividing lines, and key elements at the four intersection points. Avoid dead centre — the image gains dynamism and tension.
In practice on the trail: don't split the horizon down the middle. If the sky is magnificent, give it the top two-thirds. If the foreground is rich — flowers, rocks, grass — give it the bottom third.
Nail the Foreground
The foreground is what separates a mediocre landscape snapshot from a striking image. Look for a flower, a boulder, a path, tall grass, or stepping stones in front of your frame. It creates depth and puts the viewer inside the scene.
Use Leading Lines
Trails, rivers, ridgelines, dry-stone walls: these natural lines draw the eye through the image toward your main subject or the horizon. A path winding toward a summit is one of the most effective compositions in mountain photography.
Frame Within the Frame
A natural arch, a gap in the forest, a window in the rocks: these elements create a natural frame around your subject and reinforce depth. Stay alert to these opportunities on every trail you explore via OpenRando.
Capturing Difficult Subjects: Movement and Wildlife
Wild Animals
Patience is your primary tool. Approach slowly, quietly, and avoid sudden movements. Lightweight binoculars let you scout wildlife from a distance without disturbing it. For the shot, use burst mode and continuous autofocus (AF-C). In the Provençal mountains, marmots, chamois, and griffon vultures are star subjects.
Water in Landscapes
Waterfalls and rivers become spectacular with a slow shutter speed (¼ s to 2 s), turning moving water into silk. You'll need a ultralight carbon tripod — some models weigh under 800 g. Set your ISO to minimum and use the self-timer or a remote to eliminate camera shake.
Hikers in Action
For photos of friends or group shots, skip the posed portraits. Photograph during the effort: on the climb, during a break, gazing at the view. Use shutter-priority mode (at least 1/500 s) to freeze a natural gesture. Place subjects against a clean background — the sky or a distant slope — to separate them from cluttered terrain.
Essential Gear for the Hiker-Photographer
The right accessories make the difference between a good photo and an exceptional one.
The Polarising Filter
This is the most useful filter for hiking photography. It cuts reflections on water and rock, deepens blue skies for a more dramatic look, and improves colour saturation. Essential around mountain lakes. A circular polarising filter screws directly onto your lens.
Rain Protection
Don't pack away your camera at the first hint of rain. A camera rain cover lets you keep shooting through showers — and storm skies often deliver the most dramatic light of the day.
A Backup Battery
Cold altitude air and heavy screen use can drain batteries twice as fast as in town. Always carry a spare battery or compact power bank. Keep it in an inner pocket close to your body to maintain warmth.
A Photo-Ready Hiking Pack
A hiking pack with a dedicated camera compartment is ideal for regular shooter-hikers. Your gear is quickly accessible without unpacking everything, protected by padded dividers. Make sure the pack has a solid hip belt — the total weight is significant.
Protecting Your Gear on the Trail
Nature is beautiful but also wet, dusty, and sometimes unforgiving.
- Moisture: wrap your body in a zip-lock bag if weather is uncertain. On the Mediterranean coast and in high mountains, conditions change fast.
- Dust: in arid zones like the Alpilles or the Ochres of the Luberon, fine dust can infiltrate camera bodies. Avoid changing lenses in the field and clean regularly with an air blower.
- Impact: never set a camera down on a rock unattended. Use a wrist strap or neck strap at all times.
- Heat: don't leave your camera in direct sunlight. Heat degrades seals and batteries. A simple emergency survival blanket, reflective side outward, protects equipment during breaks.
The Most Photogenic Hikes in Provence and the Alps
OpenRando lists thousands of itineraries with exceptional panoramas. Here are a few circuits that are particularly rewarding for photographers:
- Colorado Provençal at Rustrel — 16.4 km in the Luberon: ochre formations in flamboyant colours, unique in Europe. Morning light is ideal.
- Lac de Vens in the Mercantour — 17.4 km, 956 m gain: a high-altitude lake surrounded by peaks, perfect for reflections at daybreak.
- La Chaîne de la Sainte-Baume — 14.6 km, 478 m gain: ancient forest, spectacular cliffs, and panoramas over the coast.
- Gorges d'Oppedette Loop — 18.6 km in the Luberon: wild limestone gorges with beautifully contrasted light.
Browse the OpenRando Explore page to find the most photogenic itineraries near you, complete with elevation profiles and interactive maps for offline navigation.
Post-Processing: Making the Most of Your Images
A great field photo can still shine brighter with a little editing — as long as you don't overdo it.
The Essential Adjustments
With software like Lightroom, Snapseed (mobile), or RawTherapee (free), basic corrections are usually enough:
- Exposure and highlight recovery: bring detail back into blown-out skies by pulling down highlights
- Shadows: lift shadows to reveal detail in dark areas
- Clarity and texture: nudge these up slightly to reinforce detail in rocks and vegetation
- Selective saturation: boost sky blues and meadow greens without pushing everything else
- Cropping: don't hesitate to reframe for better composition after the fact
Shoot in RAW
If your camera supports it, shoot RAW rather than JPEG. This format captures far more data and offers much greater editing latitude — especially for recovering blown skies or blocked shadows, both very common in mountain shooting.
Sharing and Archiving Your Hiking Photos
Create dedicated albums for each outing, named by trail, date, and location — you'll thank yourself in ten years. For sharing, Instagram and hiking Facebook groups are vibrant spaces where the community is always enthusiastic. Tag precise locations to help other hikers find those spots.
And if your aim is also to discover new itineraries for future photo sessions, OpenRando lets you browse trails by region, filter by difficulty, and download GPX files for offline navigation.
Hiking photography isn't an extra discipline — it's a different way of looking at the trail. It pushes you to walk more slowly, to observe, to chase the light. And in doing so, it enriches every outing far beyond the images you bring home.
As an Amazon Associate, we earn from qualifying purchases. Links marked with an external icon are affiliate links.
Related reading
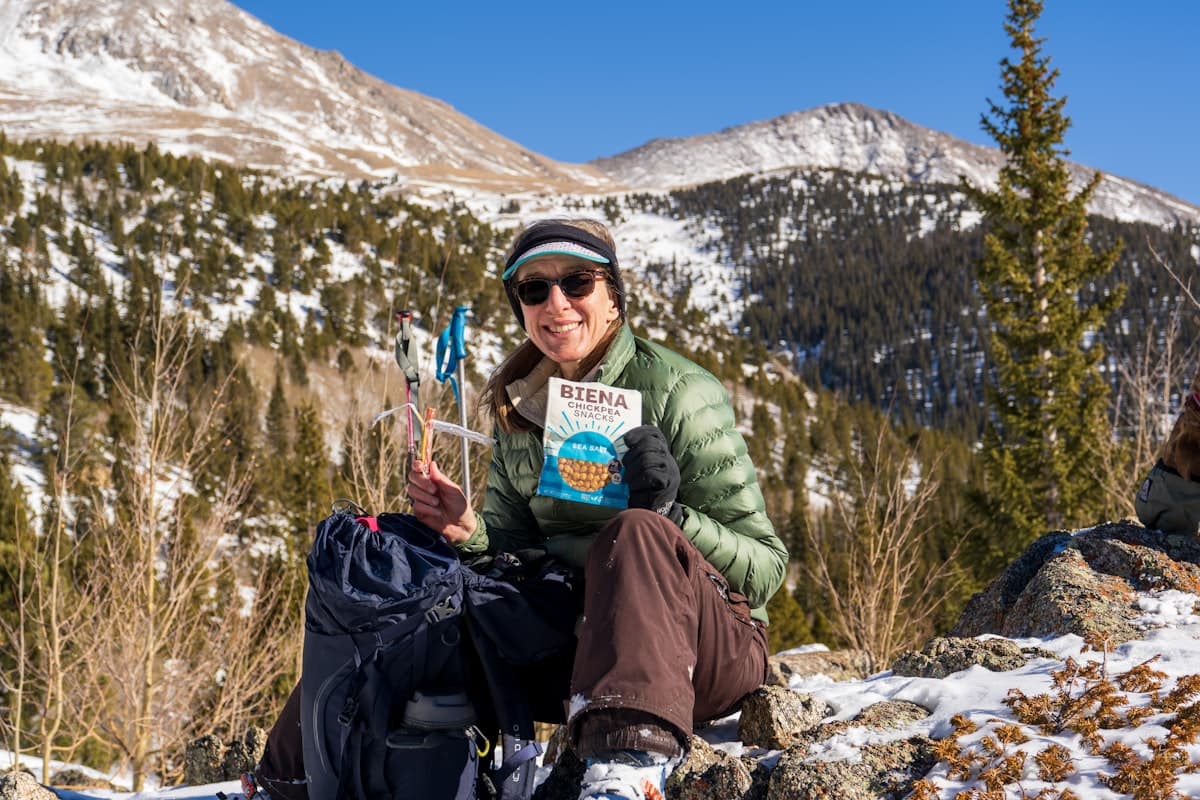
Eating and Drinking on the Trail: The Complete Hiking Nutrition Guide
How much to drink, what to eat, and how to plan your meals on the trail? The complete guide to nutrition and hydration for hiking without bonking or heat exhaustion.
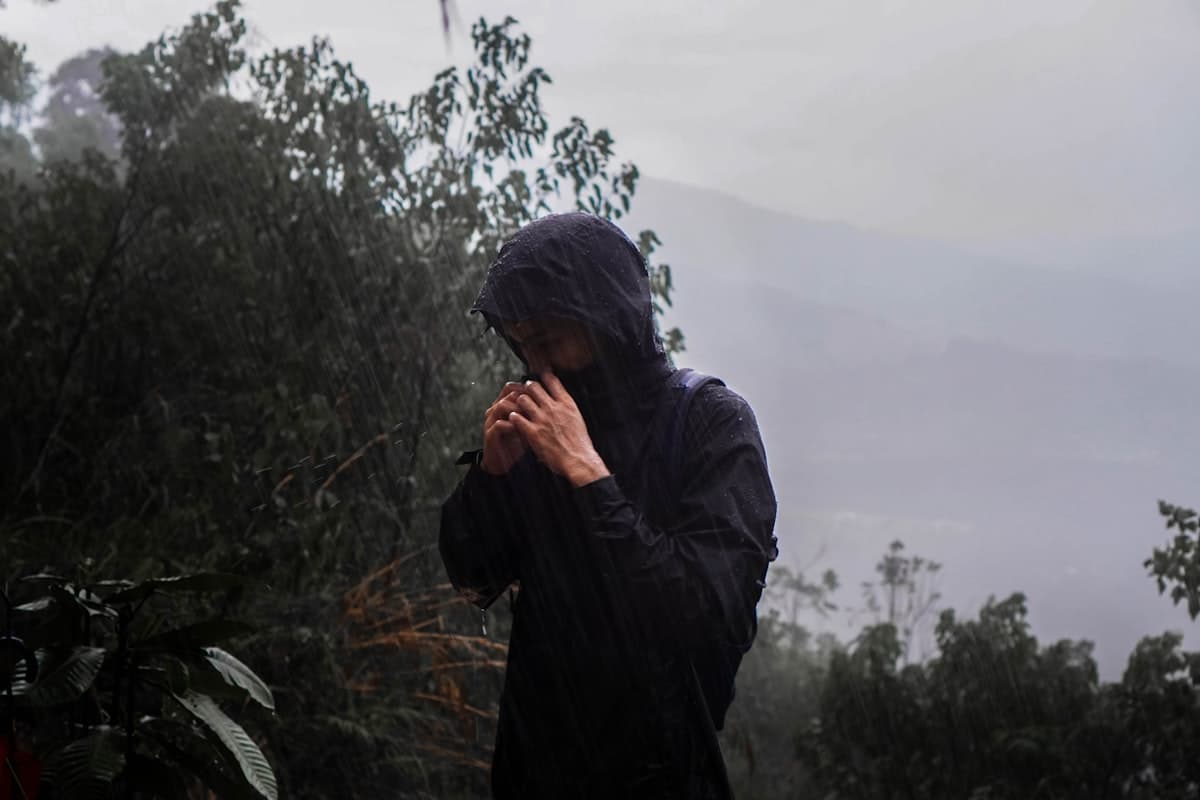
Hiking in the Rain: Tips and Essential Gear
Rain doesn't have to mean turning back. Discover all the tips and essential equipment for hiking in the rain safely — and enjoy the trails from a whole new perspective.
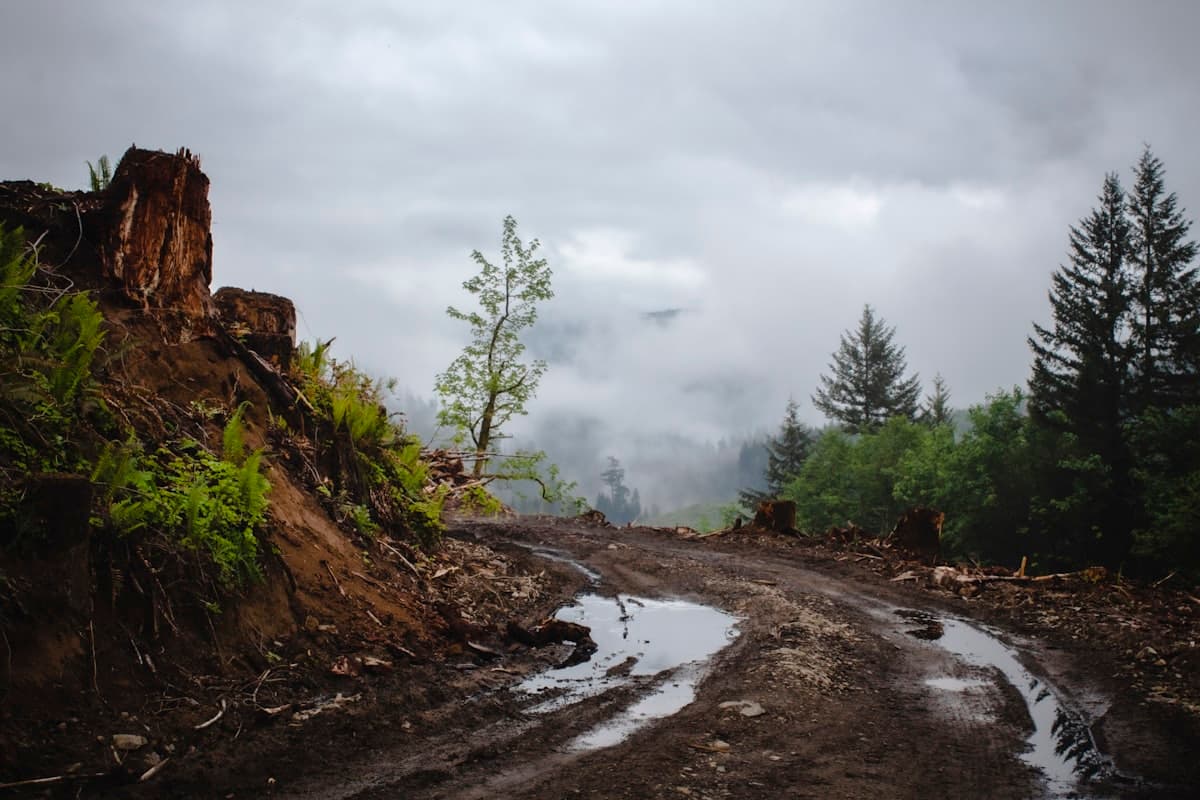
Hiking After Rain: Muddy Trails and Flooded Streams
Hiking after heavy rain: how to assess trail conditions, safely cross a flooded stream, and know when to turn back.